How to Make a Documentary: A 12-Step Beginner's Guide
In short: To make a documentary, start with a character who has a clear goal and a real obstacle, then plan the film (idea, narration style, three acts, crew, treatment, schedule and budget), shoot it, edit it with music, sound and colour, and share it.
Making a documentary from scratch is simpler than you think, and this 12-step guide shows you how to do it, even if you have zero experience and no budget.
You've got an idea, maybe even a subject, but the gap between "I want to make a film" and actually finishing one feels enormous. I know the feeling. When I started out, I had no experience, no connections and no clue how the process worked, just a story I wanted to tell.
Since then, I've directed award-winning documentaries including One Breath and worked on the BAFTA-nominated film The Eagle Huntress. I've collaborated with brands like Red Bull and Canon, and I built the Documentary Film Academy to help other filmmakers do the same.
Everything I've learned comes down to 12 steps. They're the same steps I follow on every project, whether it's a 5-minute short or a feature-length film.
Before You Begin: What Actually Makes a Good Documentary?
A documentary is a non-fiction film that tells a real story about real people, events or issues. It draws its power from truth, using interviews, archival footage, voiceover and observational footage to show audiences something they wouldn't otherwise see.
What separates a documentary people watch from one they click away from comes down to one thing: a character the audience cares about, with a clear goal and a real obstacle standing in the way.
That's the engine of every great documentary. If you have that, the rest is craft you can learn. If you don't, no amount of gear or technique will save you.
I break this down in the seven key elements of a great documentary. Keep it in mind as you work through these steps: every decision you make should serve the story.
Step 1: Find Your Documentary Idea
Every documentary starts with a question or a curiosity. The best ideas usually come from something personal: a world you already have access to, a question that's been nagging you, or a person whose story you can't stop thinking about.
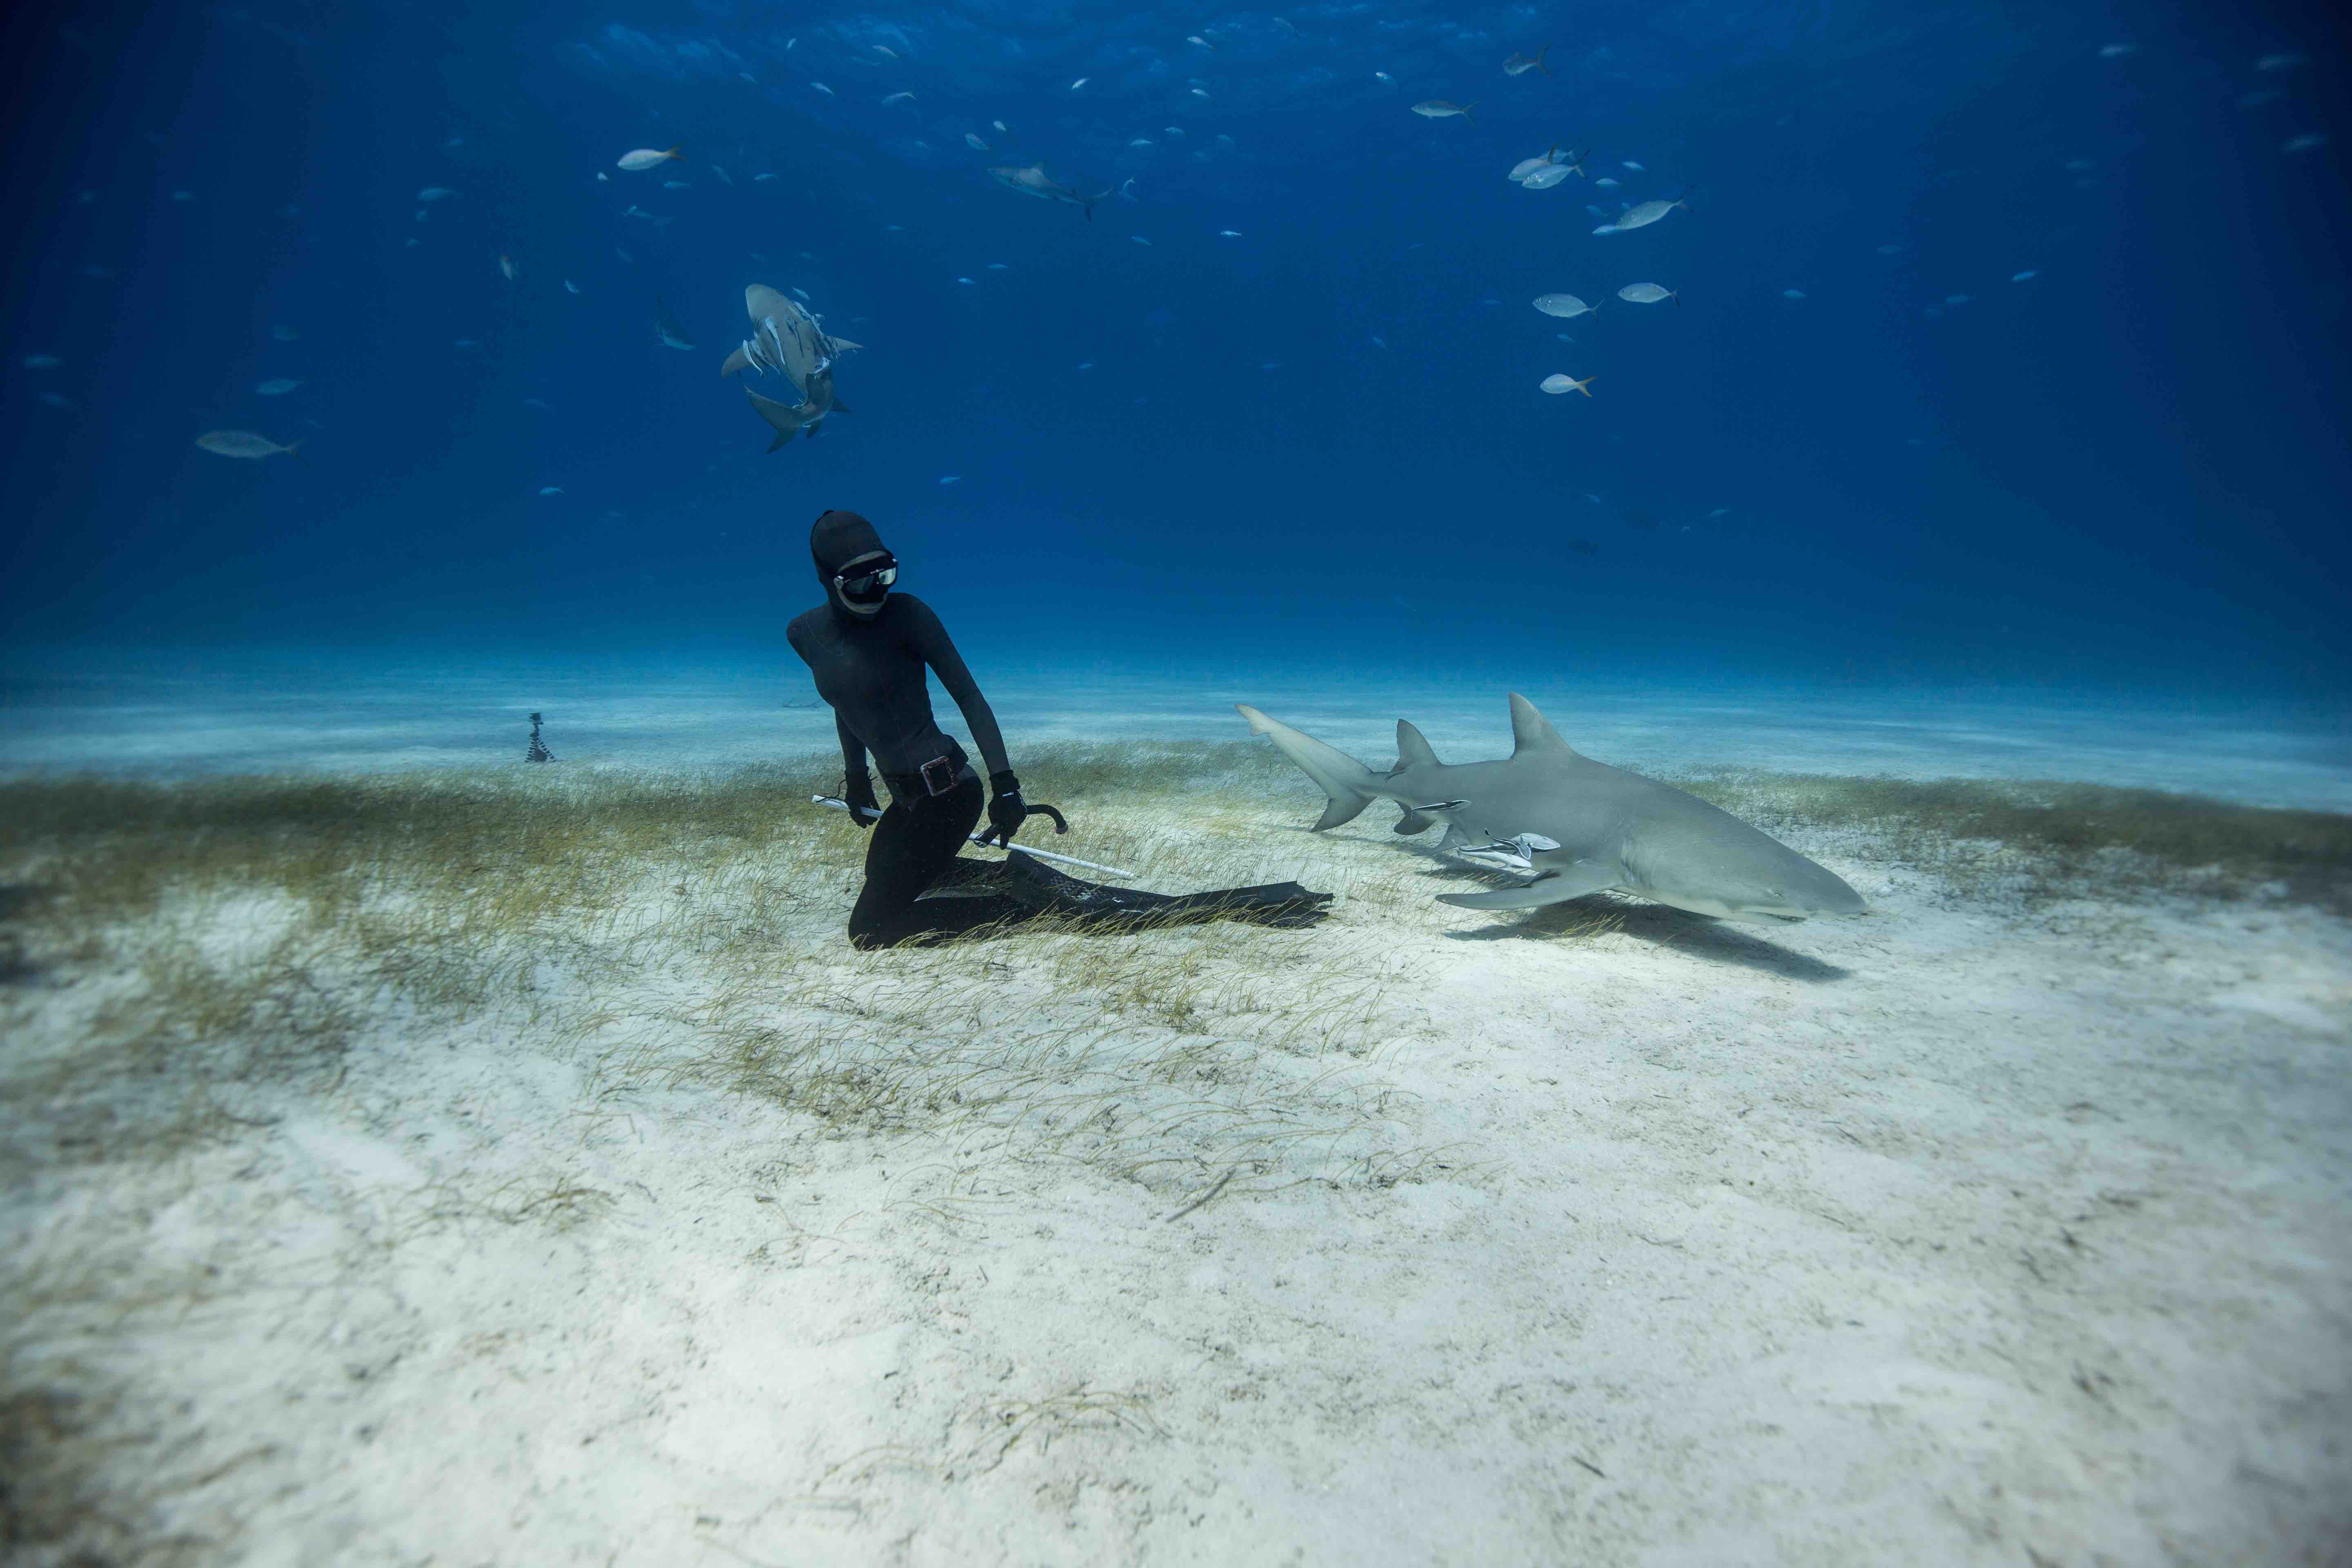
When I was developing my short documentary One Breath: A Life Without Gravity, it wasn't just the subject of freediving that drew me in. It was the main characters, Christina and Eusebio, and a question I wanted to know the answer to.
Here's what I look for in a strong documentary idea:
- A compelling character: Not just someone interesting, but someone in the middle of something: a challenge, a decision, a transformation. Documentaries need someone the audience can follow.
- Access: This is the one beginners overlook most. You might have a brilliant idea about life inside a submarine, but if you can't get on the submarine, you don't have a film. When I'm weighing up ideas, I always ask myself: can I physically be in the room where this story is happening?
- Something at stake: There needs to be tension, a question that doesn't have an obvious answer. If you already know exactly how your film ends before you start shooting, the audience will sense it and disengage.
- A personal connection: Documentary filmmaking is a marathon, not a sprint, and many independent documentaries take years to complete. If you don't care deeply about the subject, you'll run out of motivation long before you finish. Pick something you'd want to explore even if no one else ever watched the film.
Once you have an idea, research it. Read books, watch existing documentaries on the topic and talk to experts. Good research shapes your story, helps you find the right characters and prevents surprises during production.
Start identifying potential interviewees and locations, and build relationships with your subjects early. Trust takes time, and the earlier you start, the more honest and open your footage will be. If your subject involves sensitive topics, think through how your film could affect the people in it.
Related guide: How to Find and Develop Documentary Ideas
Step 2: Choose Your Documentary Narration Style
Before you start filming, decide how your story will be told. This isn't the same as story structure, which is about what happens and when. Narration style is the voice and method that guides your audience through the material.
It shapes tone, pacing and emotional connection, and it affects every practical decision from how you shoot to how you edit.
There are lots of academic ways to categorise documentaries, and Bill Nichols' six modes are the best known. For filmmakers actually planning a film, they're often too abstract, so here are the four core narration styles I use and teach.
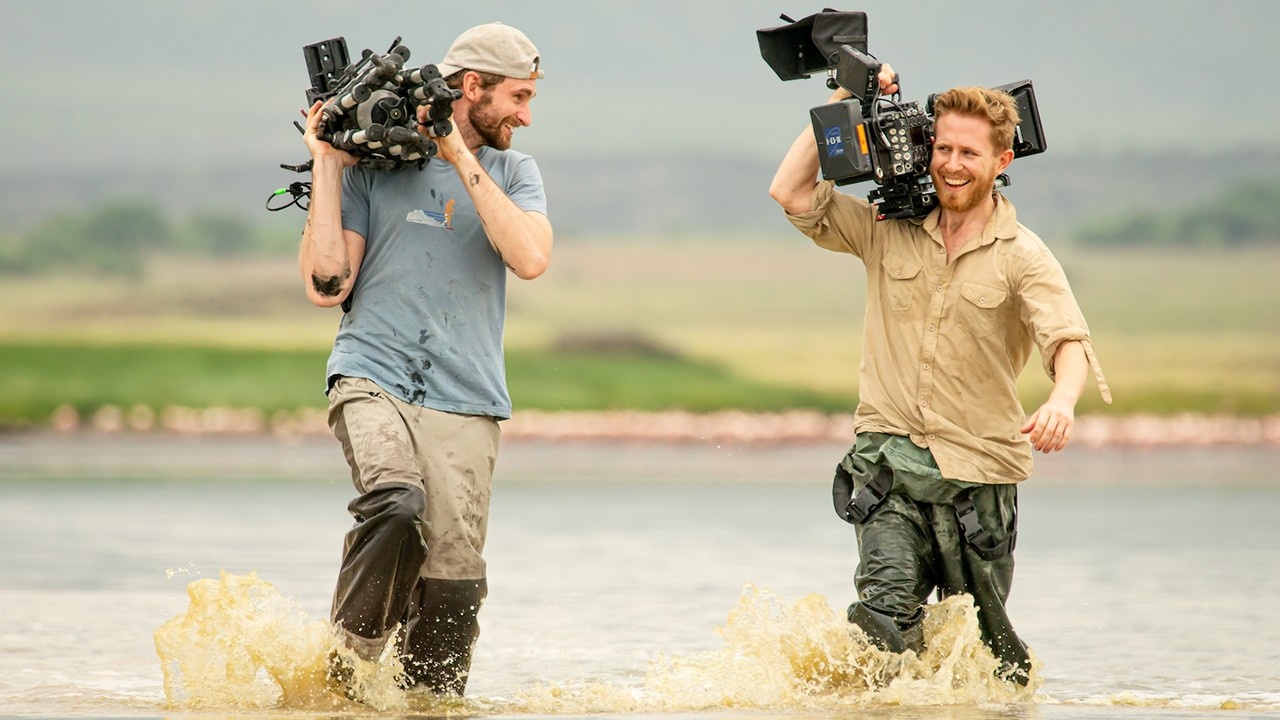
- Interview-led: The story unfolds through interviews with your subjects, supported by B-roll, archive footage or animation. It's the most common approach and the most forgiving for beginners, and emotion often comes through naturally. The downside is that it relies on good speakers and gives you less control over pacing: if your subjects aren't articulate or comfortable on camera, the whole film can stall. Best for personal, character-led stories.
- Narrator-led (voiceover): A voiceover guides the audience through the story, adding context, linking scenes and explaining what's happening. It gives you enormous control in the edit, because you can rewrite the narration until the story is exactly where you want it. Planet Earth is the classic example. The risk is that it can feel over-explained and create distance between the audience and the subject. Best for history, science and explainer-style documentaries.
- Presenter-led: A presenter appears on screen and takes the viewer through the story, interviewing people, visiting locations or explaining key ideas directly to camera. This builds trust quickly and makes complex stories easier to follow. The downside is that the presenter can become the focus instead of the subject, and it needs strong on-camera skills. Best for travel, investigations and personal essay films.
- Observational (cinéma vérité): No interviews, no narration. The camera captures real events as they happen, and the audience draws their own conclusions. It's the most immersive style and can feel incredibly authentic, but it's also the hardest to pull off. Without strong characters or natural drama unfolding during your shoot, it can feel slow or directionless, and you need extraordinary access and patience. Best for raw, unscripted, character-driven films.
Most documentaries combine these styles, and that's what I do most often. The Rescue, for example, uses interviews for emotional depth, archival footage for tension, and observational scenes to immerse you in key moments.
When choosing your style, ask yourself: do I want to be invisible or present? Is this about a person or an issue? Do I need to explain something clearly, or will the audience connect more through observation? There's no perfect answer, only what serves your material.
My advice for your first film: start interview-led with observational B-roll. It's the most forgiving combination and gives you the most material to work with in the edit.
Related guide: Documentary Narration Styles Explained
Step 3: Structure Your Story in Three Acts
This is the step that separates amateur documentaries from ones that hold an audience's attention. You need a structure, and the simplest one that works is three acts.
- Act 1 (Setup): Introduce your character, their world and the central question or conflict. The audience needs to understand who they're watching and why they should care. This should take roughly the first quarter of your film.
- Act 2 (Confrontation): The bulk of your documentary. Your character faces obstacles, things get complicated and the stakes rise. The key is escalation: things should get progressively more intense or complicated.
- Act 3 (Resolution): The central question gets answered (or deliberately left open), and the character arrives somewhere different from where they started. It doesn't have to be a happy ending. Some of the best documentaries end with ambiguity or an uncomfortable truth, but there needs to be a sense of arrival.
Also decide whether your film is character-driven or topic-driven, and whether it will follow a chronological timeline. These decisions shape everything that comes next.
A practical tip: before you start shooting, write a one-page outline with three paragraphs, one for each act. You won't stick to it exactly (documentaries never go to plan), but that roadmap will stop you drowning in footage later.
I can't stress this enough. The filmmakers I've mentored who skip this step always struggle in the edit.
Related guide: Master the Art of Documentary Storytelling in Three Acts

Step 4: Build Your Documentary Crew
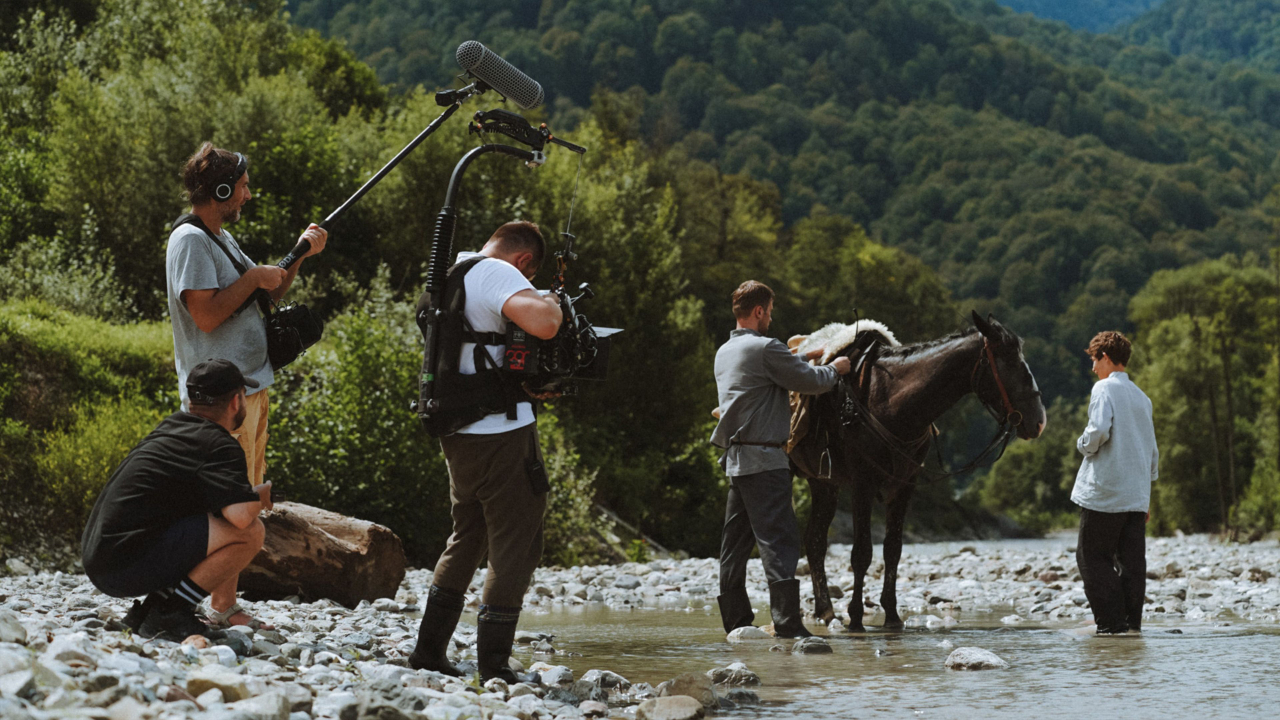
You don't need a crew to make a documentary. Many excellent films have been made by one person with a camera, and my solo documentary filmmaking guide covers how to handle everything yourself.
But if you can find even one or two people to help, the quality of your work will jump dramatically. These are the roles that make the biggest difference:
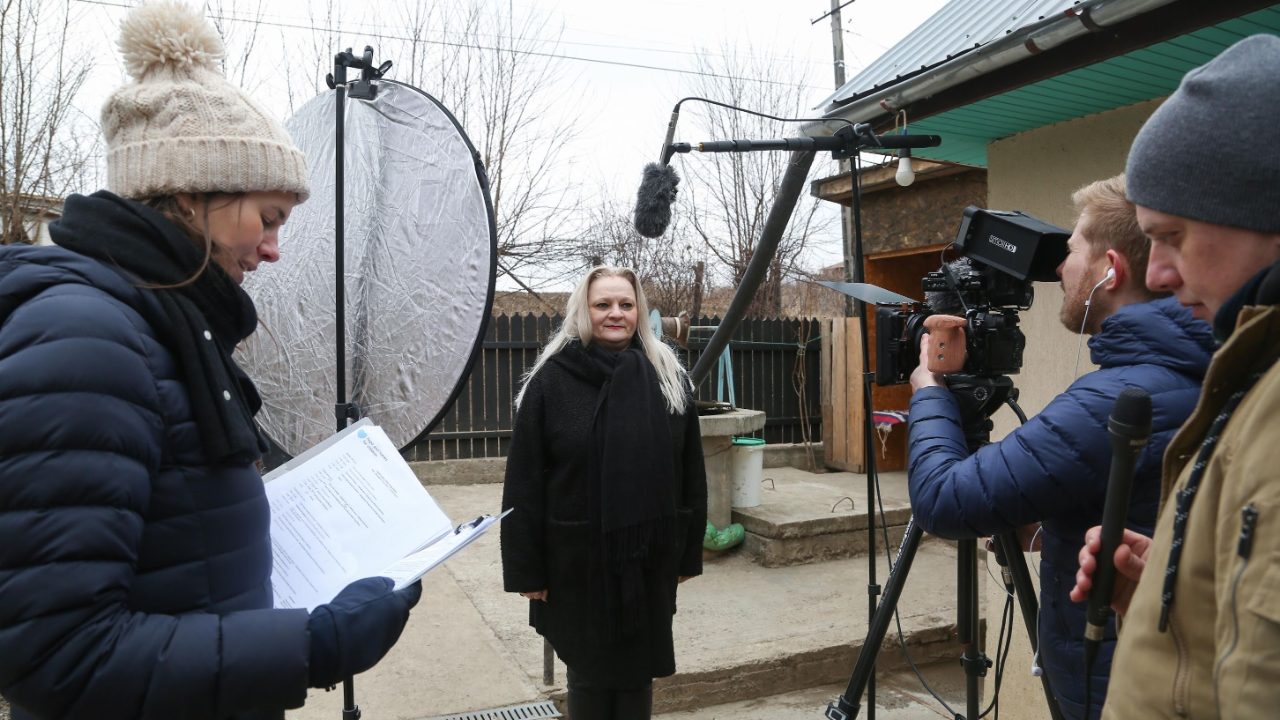
- Sound recordist: If I could only add one person, it would be someone handling audio. Audiences will tolerate a shaky image, but they'll click away instantly from muffled or distorted sound. Someone dedicated to monitoring and recording audio frees you to focus on what you're filming.
- Camera operator or second shooter: A second camera angle transforms your edit. It lets you cut between shots during interviews (hiding jump cuts) and capture simultaneous action in observational scenes.
- Editor: Even if you plan to edit yourself, someone you trust to give feedback on your cuts is invaluable. Fresh eyes catch problems you'll never see after watching the same footage fifty times.
Where do you find people? Film schools, local filmmaking meetups, online communities and social media. Many aspiring filmmakers will work on a documentary for free if the subject interests them and they get a credit.
I built my early crews entirely through passion and persistence, not money.
Related guide: How to Find a Film Crew to Help You Make Your Documentary
Step 5: Write a Documentary Treatment
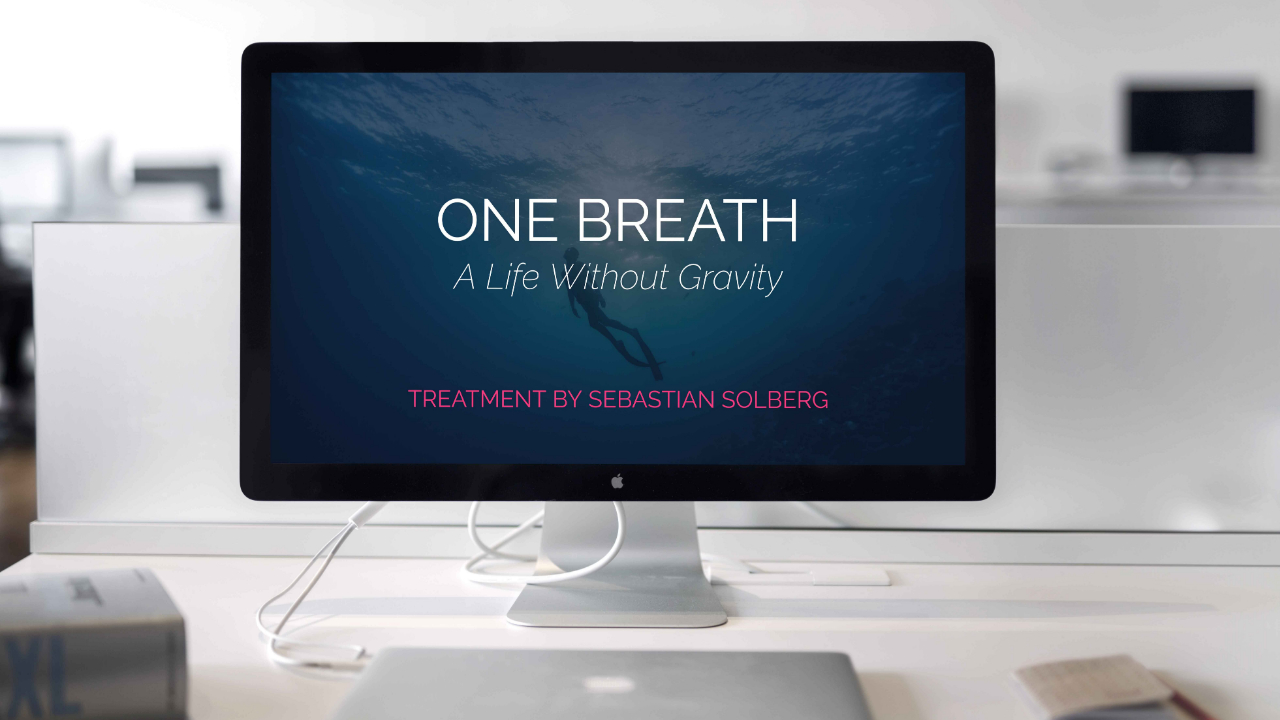
A treatment is your documentary's blueprint: a written document, usually 2 to 5 pages, that outlines what your film is about, who's in it, how it looks and why it matters.
It does two jobs. It forces you to clarify your thinking before you start shooting, because if you can't explain your film on paper, you won't be able to make it on screen. And if you ever pitch for funding or approach subjects for access, the treatment is what you'll share.
Here's what I include in every treatment:
- Logline: One or two sentences that capture the essence of your film. Think of it as your elevator pitch.
- Synopsis: A page-long summary of the story, including your main character, the central conflict and how you expect the story to unfold.
- Visual approach: What will the film look and feel like? Handheld and intimate? Cinematic and composed? Which reference films inspire your approach?
- Access statement: How do you plan to get the footage you need? What access do you already have, and what still needs to be secured?
- About the filmmaker: Why are you the right person to tell this story? What's your connection to the subject?
Don't overthink it. Your treatment will evolve as the project develops, but having it written down gives you a foundation for everything else.
Related guide: How to Create a Compelling Documentary Treatment
Step 6: Plan Your Schedule and Budget
This is the unsexy part of filmmaking that every beginner wants to skip. Don't. Poor planning is the number one reason documentaries stall or die.
Scheduling: Break your production into three phases: pre-production (research, access, planning and a shot list), production (filming) and post-production (editing, sound design, colour grading). Give each phase a realistic timeline.
For a short documentary (5 to 15 minutes), you might spend a few weeks in pre-production, a few days to a few weeks filming, and a month or two editing. For a feature, multiply everything significantly.
Budgeting: Your budget can range from almost nothing to hundreds of thousands. Here's a rough breakdown of where money goes on a typical independent documentary:
- Equipment (camera, audio, lighting): buy, rent or borrow
- Travel and accommodation
- Hard drives for footage storage (you'll need more than you think)
- Music licensing or original score
- Editing software
- Festival submission fees
- Insurance (if required for your locations)
My rule: add 10 to 15% to whatever number you arrive at for unexpected costs. Something always comes up. A hard drive fails, a key interview needs an extra trip, or your subject's schedule changes.
If you're making your first film on zero budget, that's completely fine. Use your phone, borrow a mic and edit on free software. The constraints will force creativity.
If you need to raise money, my guide on how to fund a documentary covers eight proven strategies.
Related guide: How to Create a Documentary Budget
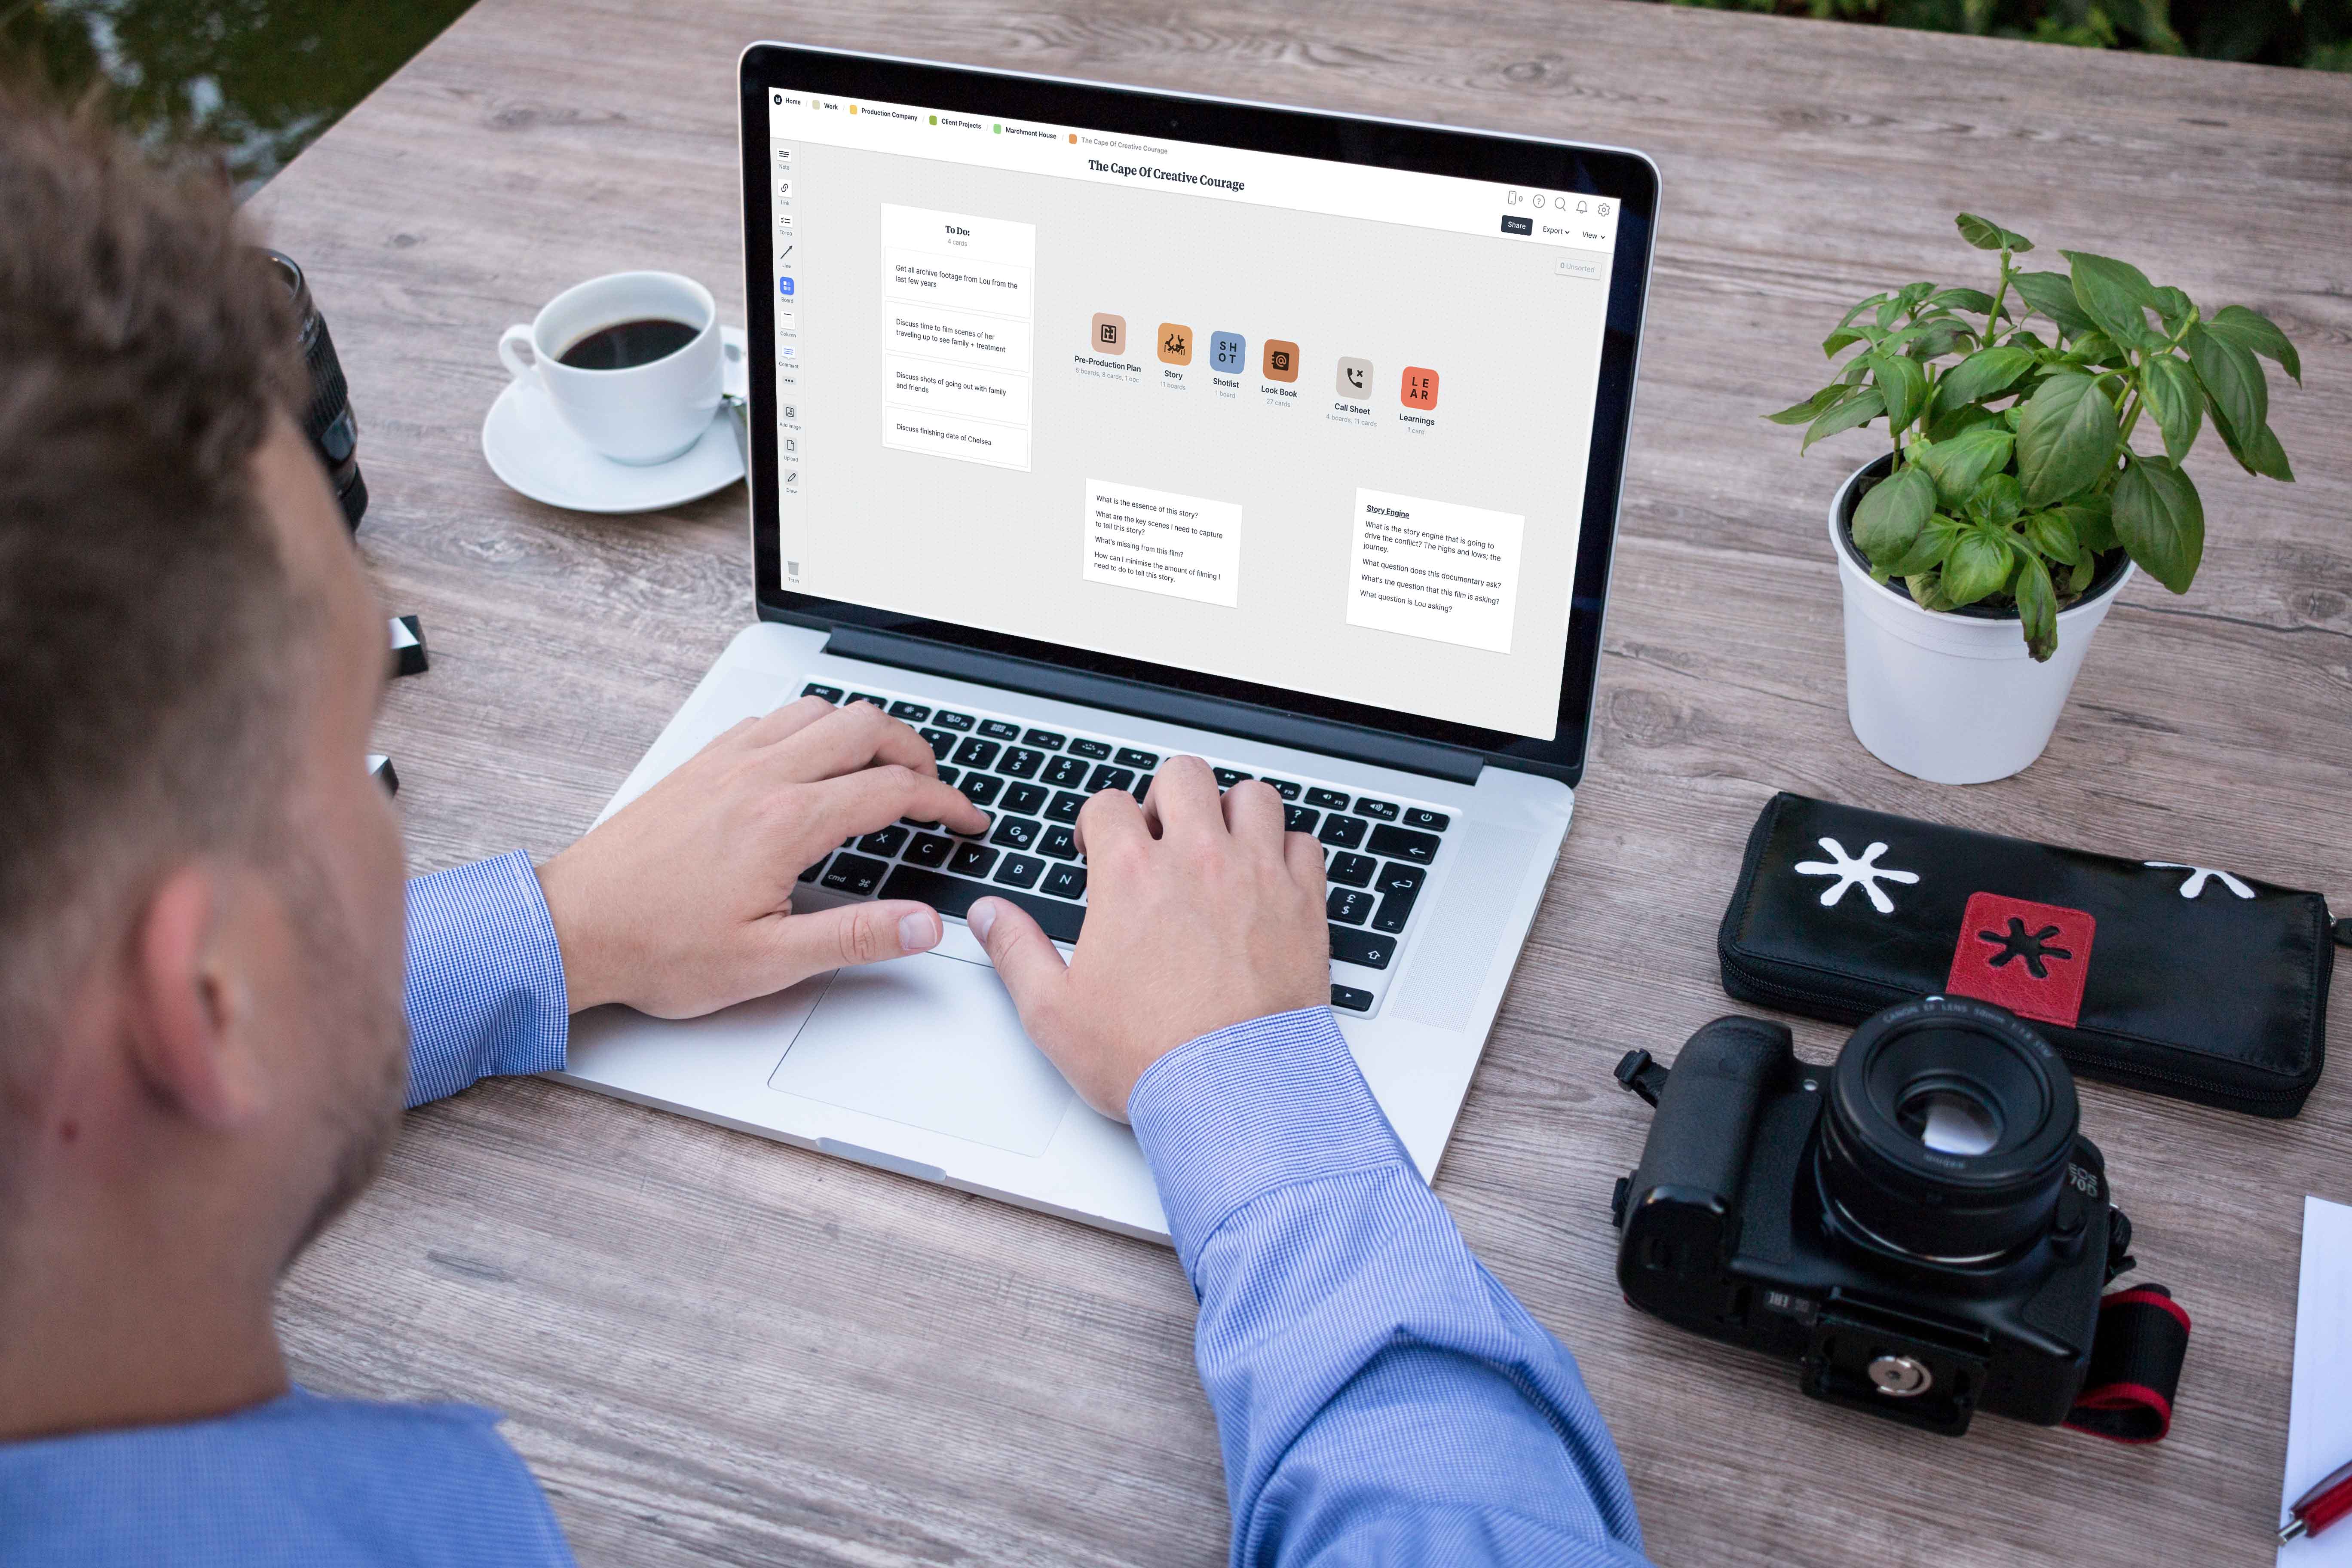
Step 7: Choose Your Camera Setup
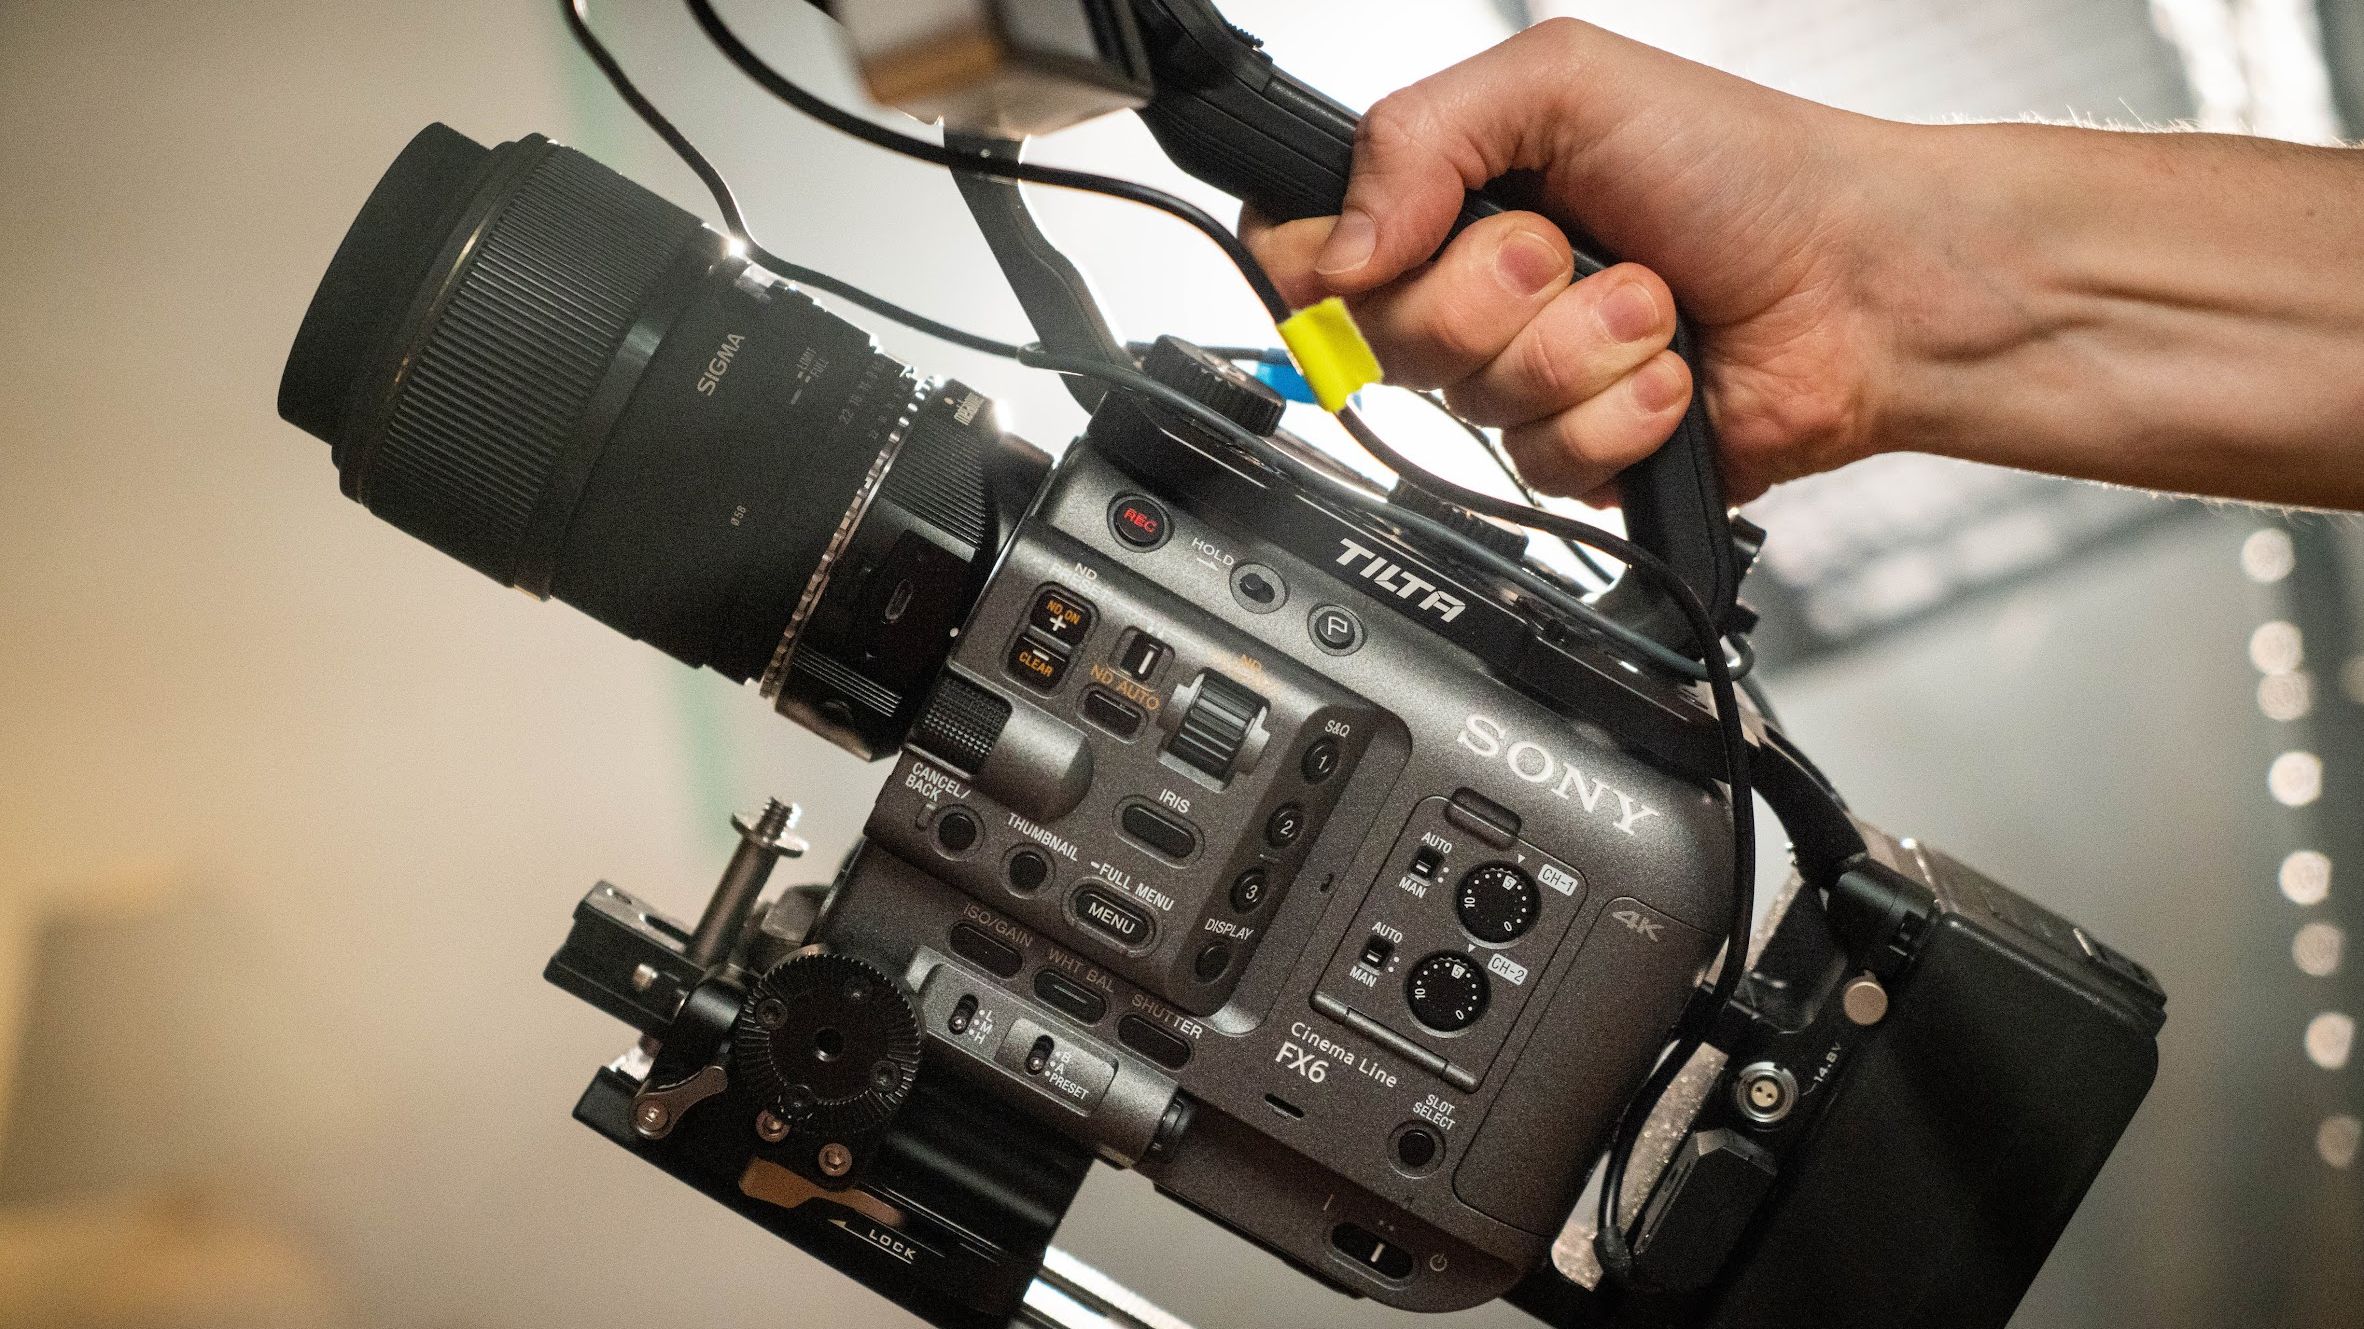
I've seen filmmakers spend months agonising over camera choices when they should be developing their story. So let me be direct: use whatever camera you have access to right now.
A smartphone shoots 4K video and can produce professional-looking footage with good lighting. A DSLR or mirrorless camera gives you more control over depth of field and low-light performance. A dedicated cinema camera is ideal but completely unnecessary for your first project.
What matters far more than the camera body:
- Audio gear: Get a decent lavalier (lapel) microphone for interviews. The Rode Wireless Go or similar is affordable and dramatically improves audio quality. For ambient sound, a shotgun mic on or near the camera works well, and headphones let you monitor what you're recording. Budget £50 to £200 for audio: it will make a bigger difference than spending an extra £1,000 on a camera.
- Stabilisation: A basic tripod keeps your interview shots steady and professional. For observational footage, consider a small gimbal or slider, or simply practise your handheld technique. The key is intention: shaky footage should look deliberate and energetic, not accidental and lazy.
- Lighting: Natural light is your best friend, so position your interview subjects near a large window. If you need artificial light, a single LED panel (available for under £50) can transform a shot. The difference between an amateur and a professional-looking interview is usually just lighting.
My free documentary camera guide breaks down what you need at every budget level.
Related guide: Best Documentary Cameras: A Filmmaker's Guide
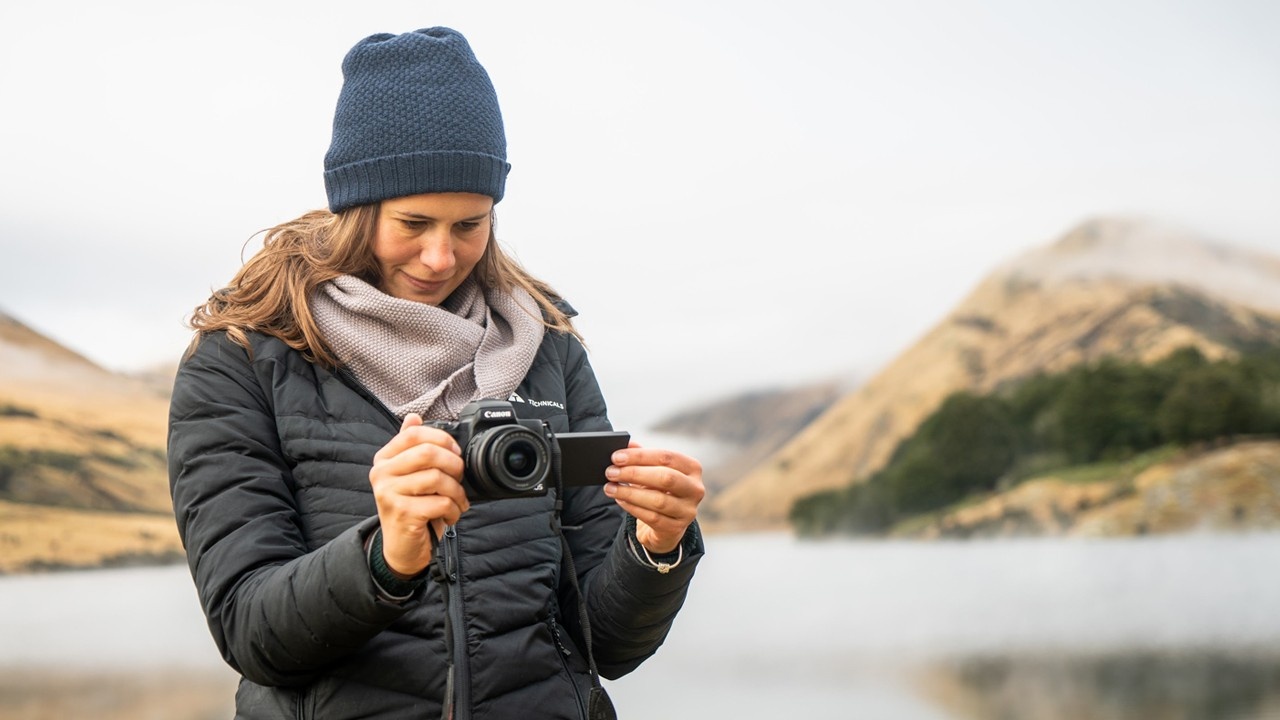
Step 8: How to Film Your Documentary
This is where it gets real, and where most beginners feel the most anxiety. My advice: just start. Your first footage won't be perfect, and that's completely fine.
A technique I teach all my students is the 5-shot rule. For any scene, capture these five shots:
- Close-up of hands: what is the person doing?
- Close-up of face: what are they feeling?
- Wide shot: where are they? What's the environment?
- Over-the-shoulder: the viewer's perspective
- Creative angle: something unexpected. Low, high, through a doorway.
Capture these five shots for every scene and you'll have enough material to edit a compelling sequence. It sounds simple, but this framework saved me countless times on early shoots when I was overwhelmed and didn't know what to point the camera at.
For more ways to tell a story with pictures, see these documentary storytelling techniques.
For interviews: Frame your subject to one side (the rule of thirds), keep eye contact with them rather than having them look at the camera, and let silences happen. Some of the most powerful moments come from the gaps between words: the pause, the look away, the deep breath before someone says something honest.
My guide to shooting cinematic documentary interviews covers interviews in more detail.
For observational footage: Be patient. Don't rush to move the camera, and let scenes breathe. Arrive early and stay late: the best moments happen when people forget you're there, and often when you least expect them.
A practical note on consent: Always get signed release forms from everyone who appears in your film. It's legal protection, and it's respectful. Make sure your subjects understand how their footage will be used.
The same goes for archival footage, music and brand images: make sure you have the rights. It's easy to overlook and expensive to fix later.
Related guide: How to Shoot a Documentary Scene With One Camera
Step 9: Write Your Documentary Script
This confuses a lot of beginners. In documentary, the script usually comes after filming, not before. You're not writing dialogue, you're organising reality.
Here's the process I follow:
- Transcribe everything: Get written transcripts of every interview. This used to take days, but AI transcription tools now do it in minutes (more on AI below). Searchable transcripts let you find the perfect soundbite in seconds instead of scrubbing through hours of footage.
- Identify your best moments: Read through the transcripts and highlight the strongest quotes, the most emotional moments and the clearest explanations. These are your building blocks.
- Create a paper edit: This is a written version of your film's structure. Arrange your highlighted moments into a sequence that follows your three-act structure. I do this in a simple document, just a list of quotes and scenes in the order I think they should appear.
- Write any narration: If your film includes voiceover, write it now to fill the gaps between interview clips. Keep it concise: narration should add what the footage can't show, not repeat what the audience can already see and hear.
The paper edit is one of the most valuable things I've learned. It means you open your editing software with a plan instead of staring at a timeline wondering where to start.
Related guide: How to Write a Documentary Script

Step 10: Edit Your Documentary
Editing is where your documentary is truly made. The shoot gives you raw material. The edit gives you a film.
If you're editing yourself (as most first-time filmmakers do), here's a process that works:
- Organise your footage first: Before you cut a single frame, sort everything into folders: interviews, B-roll, archival material, audio. Label things clearly. It's tedious but saves enormous time later. On a recent project I had over 60 hours of footage, and without organisation the edit would have been impossible.
- Build a rough assembly: Lay your best material into the timeline following your paper edit. Don't worry about polish, just get the story structure in place. This first assembly will be too long, and that's normal.
- Cut ruthlessly: The hardest part of editing is killing your darlings. If a beautiful shot doesn't serve the story, cut it. If an emotional interview moment slows the pace, cut it. I've removed scenes I loved from every film I've made. It always hurts, and it always makes the film better.
- Watch with fresh eyes: Step away for a day or two, then watch your edit from start to finish without stopping. Note where your attention drifts, because those sections need tightening. Better still, show it to someone who hasn't seen any of the footage and watch their reaction.
- Software: DaVinci Resolve is free and professional-grade. Adobe Premiere Pro and Final Cut Pro are industry standards if you're willing to pay. For a first documentary, any of these will do everything you need.
Related guide: 6 Steps to Editing a Powerful Documentary
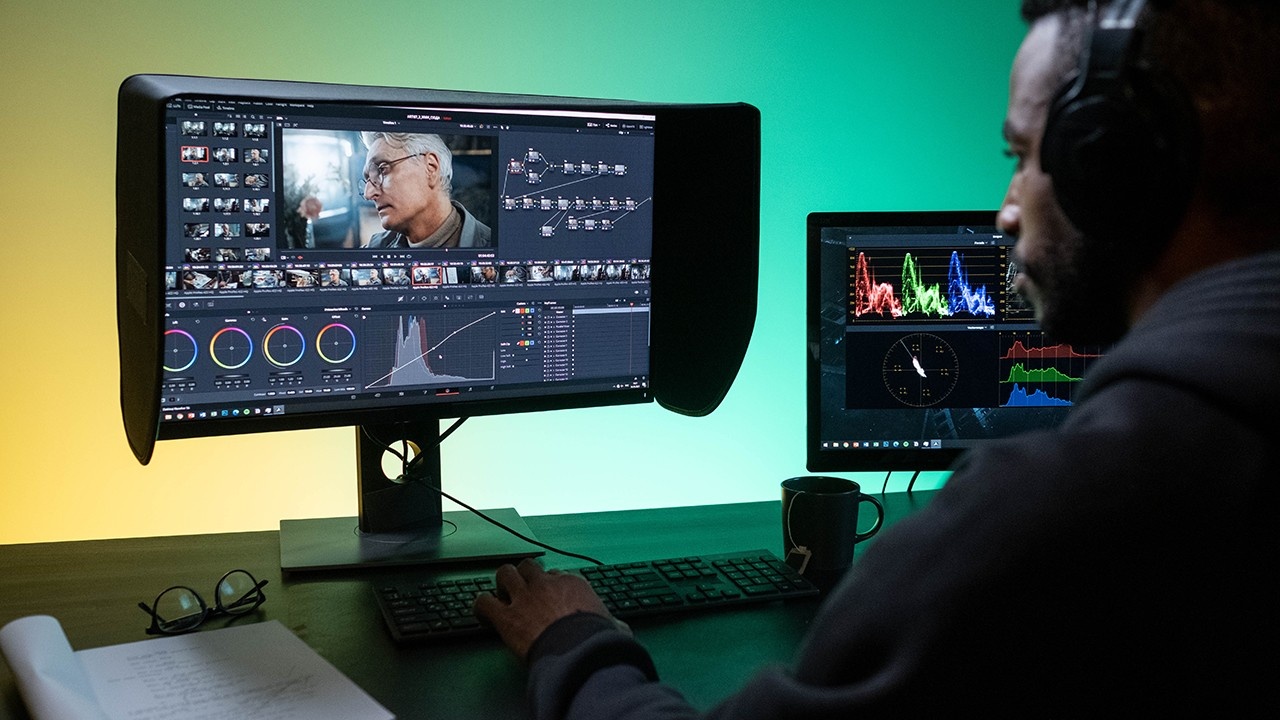
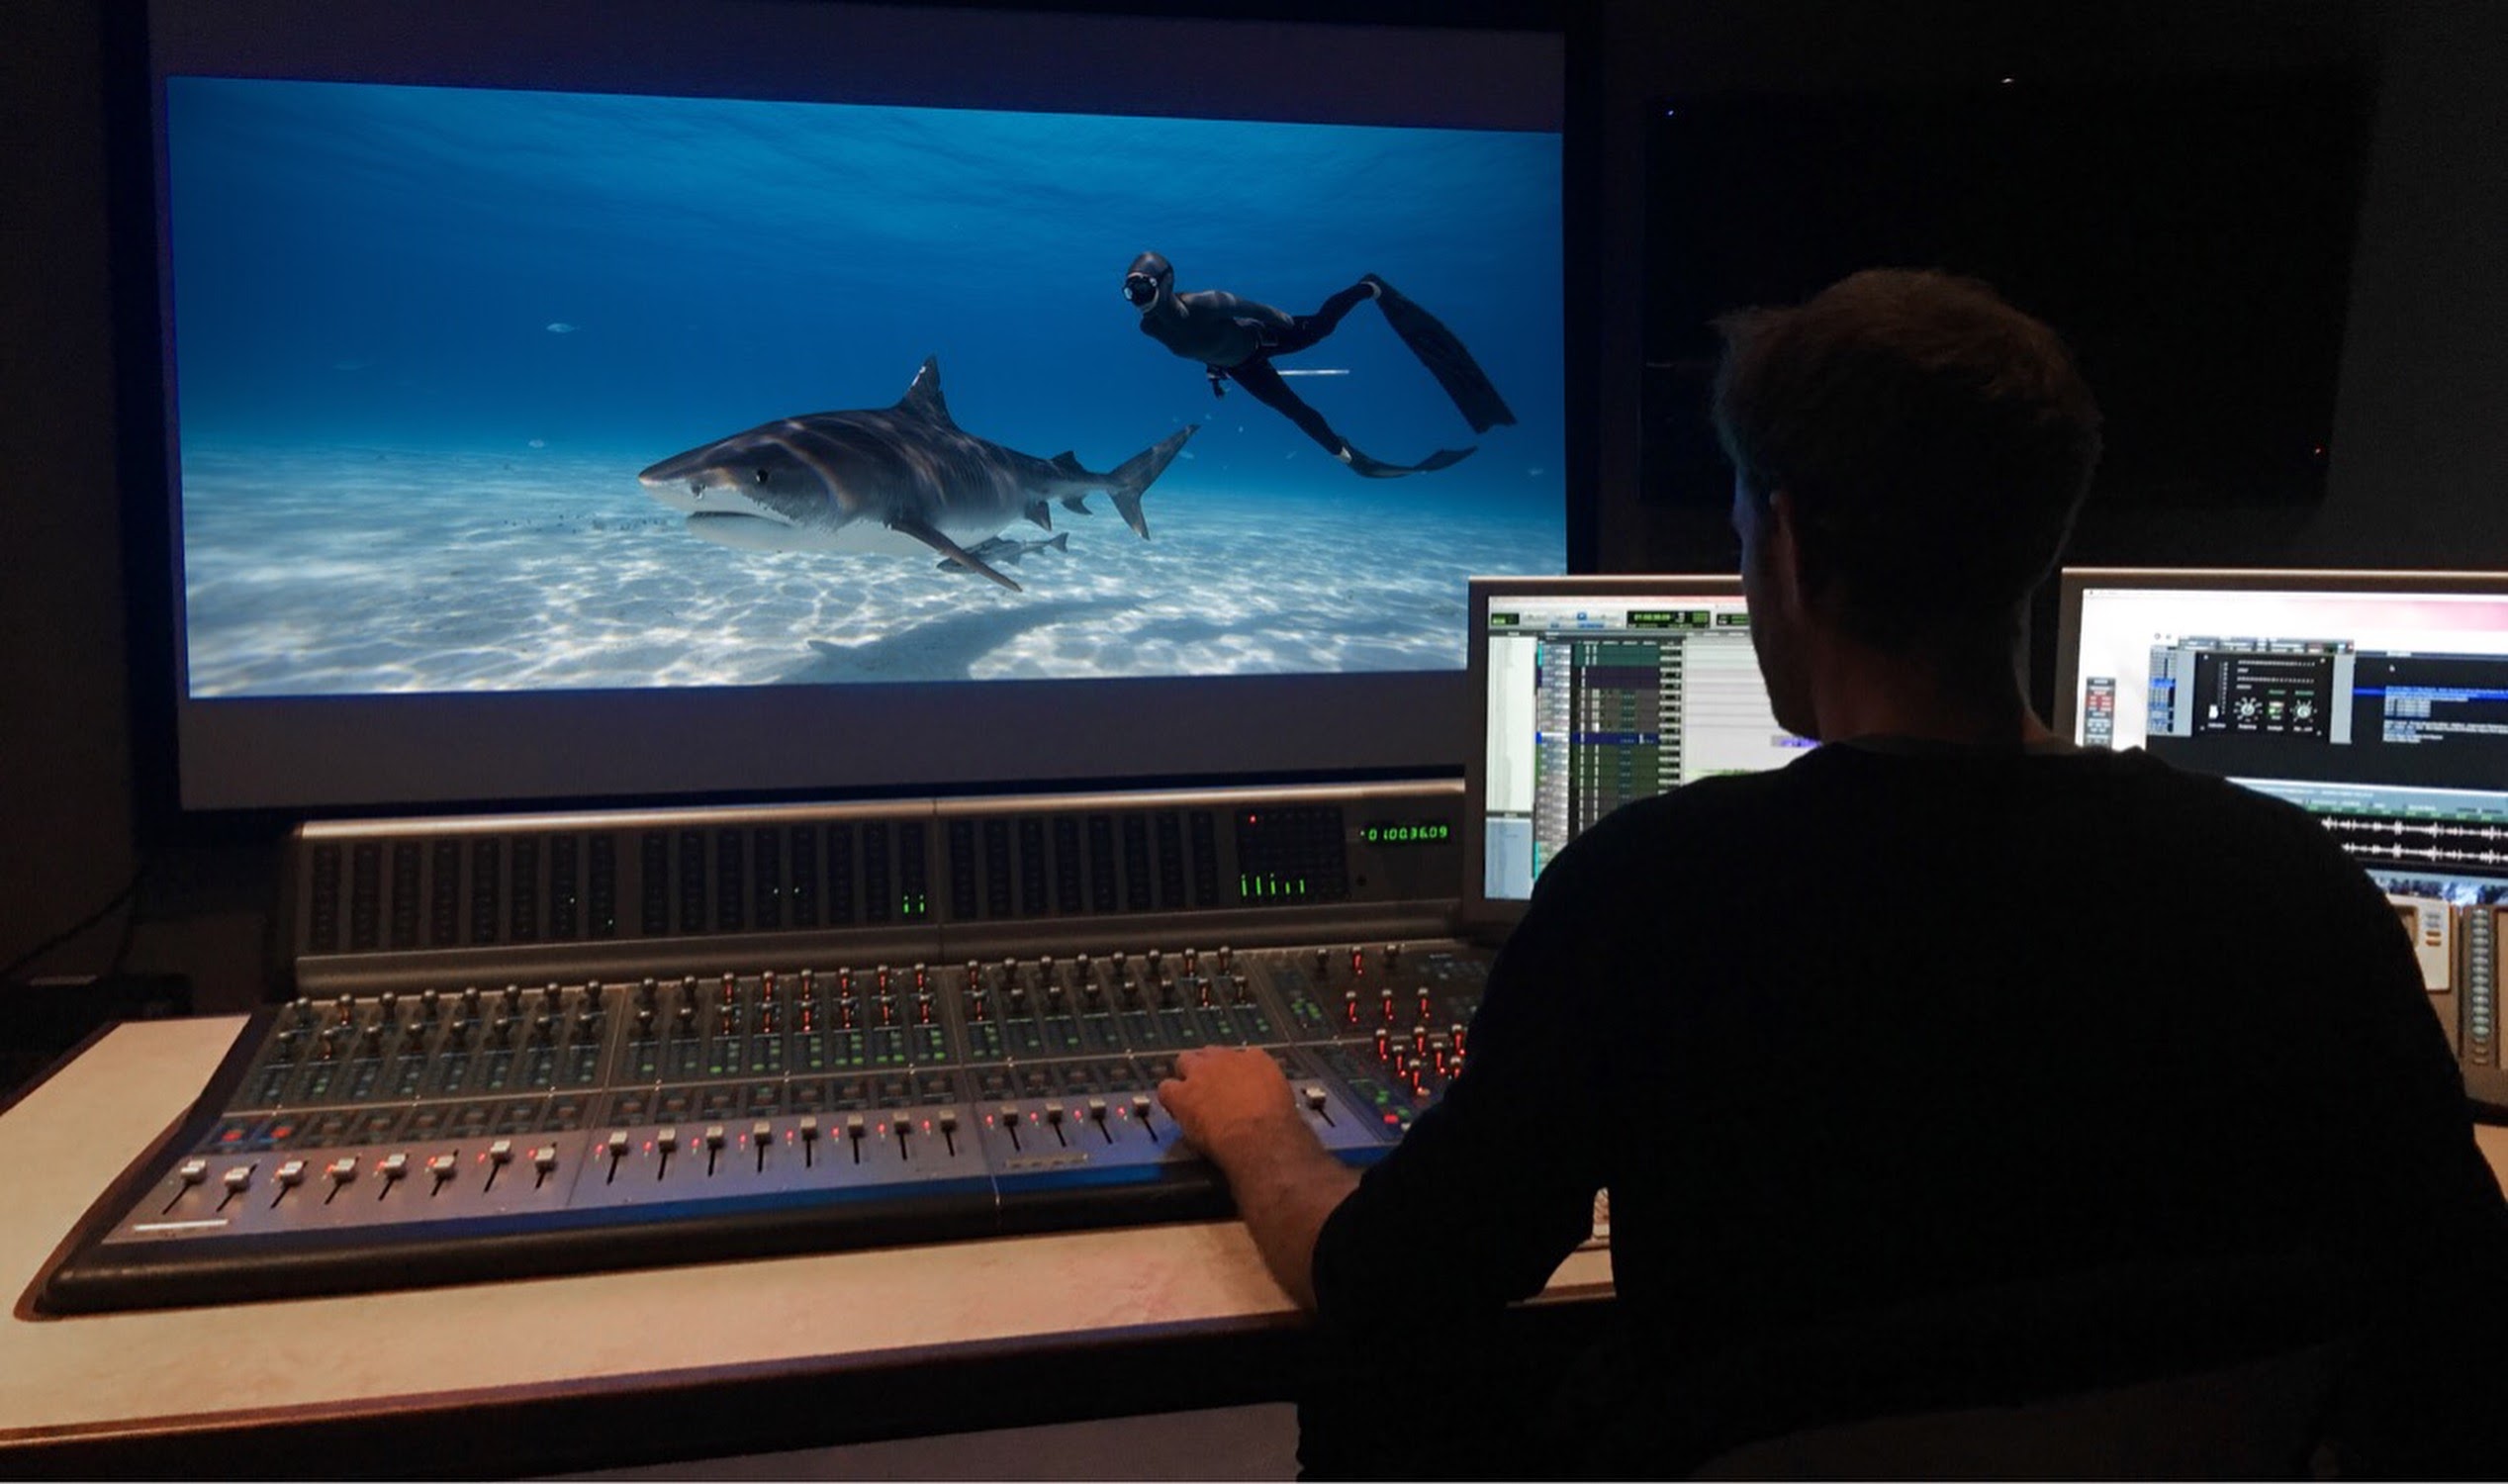
Step 11: Add Music, Sound Design, and Colour
This is the stage that takes your documentary from "good" to "it feels like a real film". Three elements do most of the heavy lifting:
- Sound design: Layer in ambient audio, room tone, environmental sounds and natural atmospheres. These fill the space between dialogue and make the film immersive. If your interview was filmed in a café, the subtle clinking of cups and murmur of conversation makes the audience feel present. If it was filmed in a quiet room, the silence itself becomes part of the tone.
- Music: The right music transforms a scene, and the wrong music destroys one. Choose music that supports the emotion without overpowering the content. Artlist, Musicbed and Epidemic Sound offer affordable subscriptions for independent filmmakers, but always check the licence terms: some are fine for festivals but not for commercial distribution. A common beginner mistake is using too much music, so let some scenes play on silence or natural sound alone.
- Colour grading: Even basic colour correction (adjusting exposure, white balance and contrast) makes your footage look more cohesive and professional. DaVinci Resolve's colour tools are among the best in the industry, and they're included in the free version. You don't need to be an expert: just match your shots so they feel like they belong in the same film.
Step 12: Share and Promote Your Documentary
You've finished your film. Now what? A documentary nobody sees is a documentary that doesn't fulfil its potential.
- Film festivals: Submitting to festivals is one of the best ways to get your work seen, build credibility and connect with the industry. Start with smaller, niche festivals relevant to your subject, and use platforms like FilmFreeway to find and submit to them. Submission fees add up, so research which festivals are realistic for your film.
- Online platforms: YouTube and Vimeo are obvious choices for reaching an audience directly. Decide whether to release the full film for free (maximising views) or use it as a trailer for a longer piece you're selling or licensing.
- Pitching to broadcasters and streamers: If your film is feature-length and polished, you can approach platforms like Netflix, Channel 4 or the BBC. It's a longer game that usually requires a sales agent or distributor, but it's not impossible for independent filmmakers.
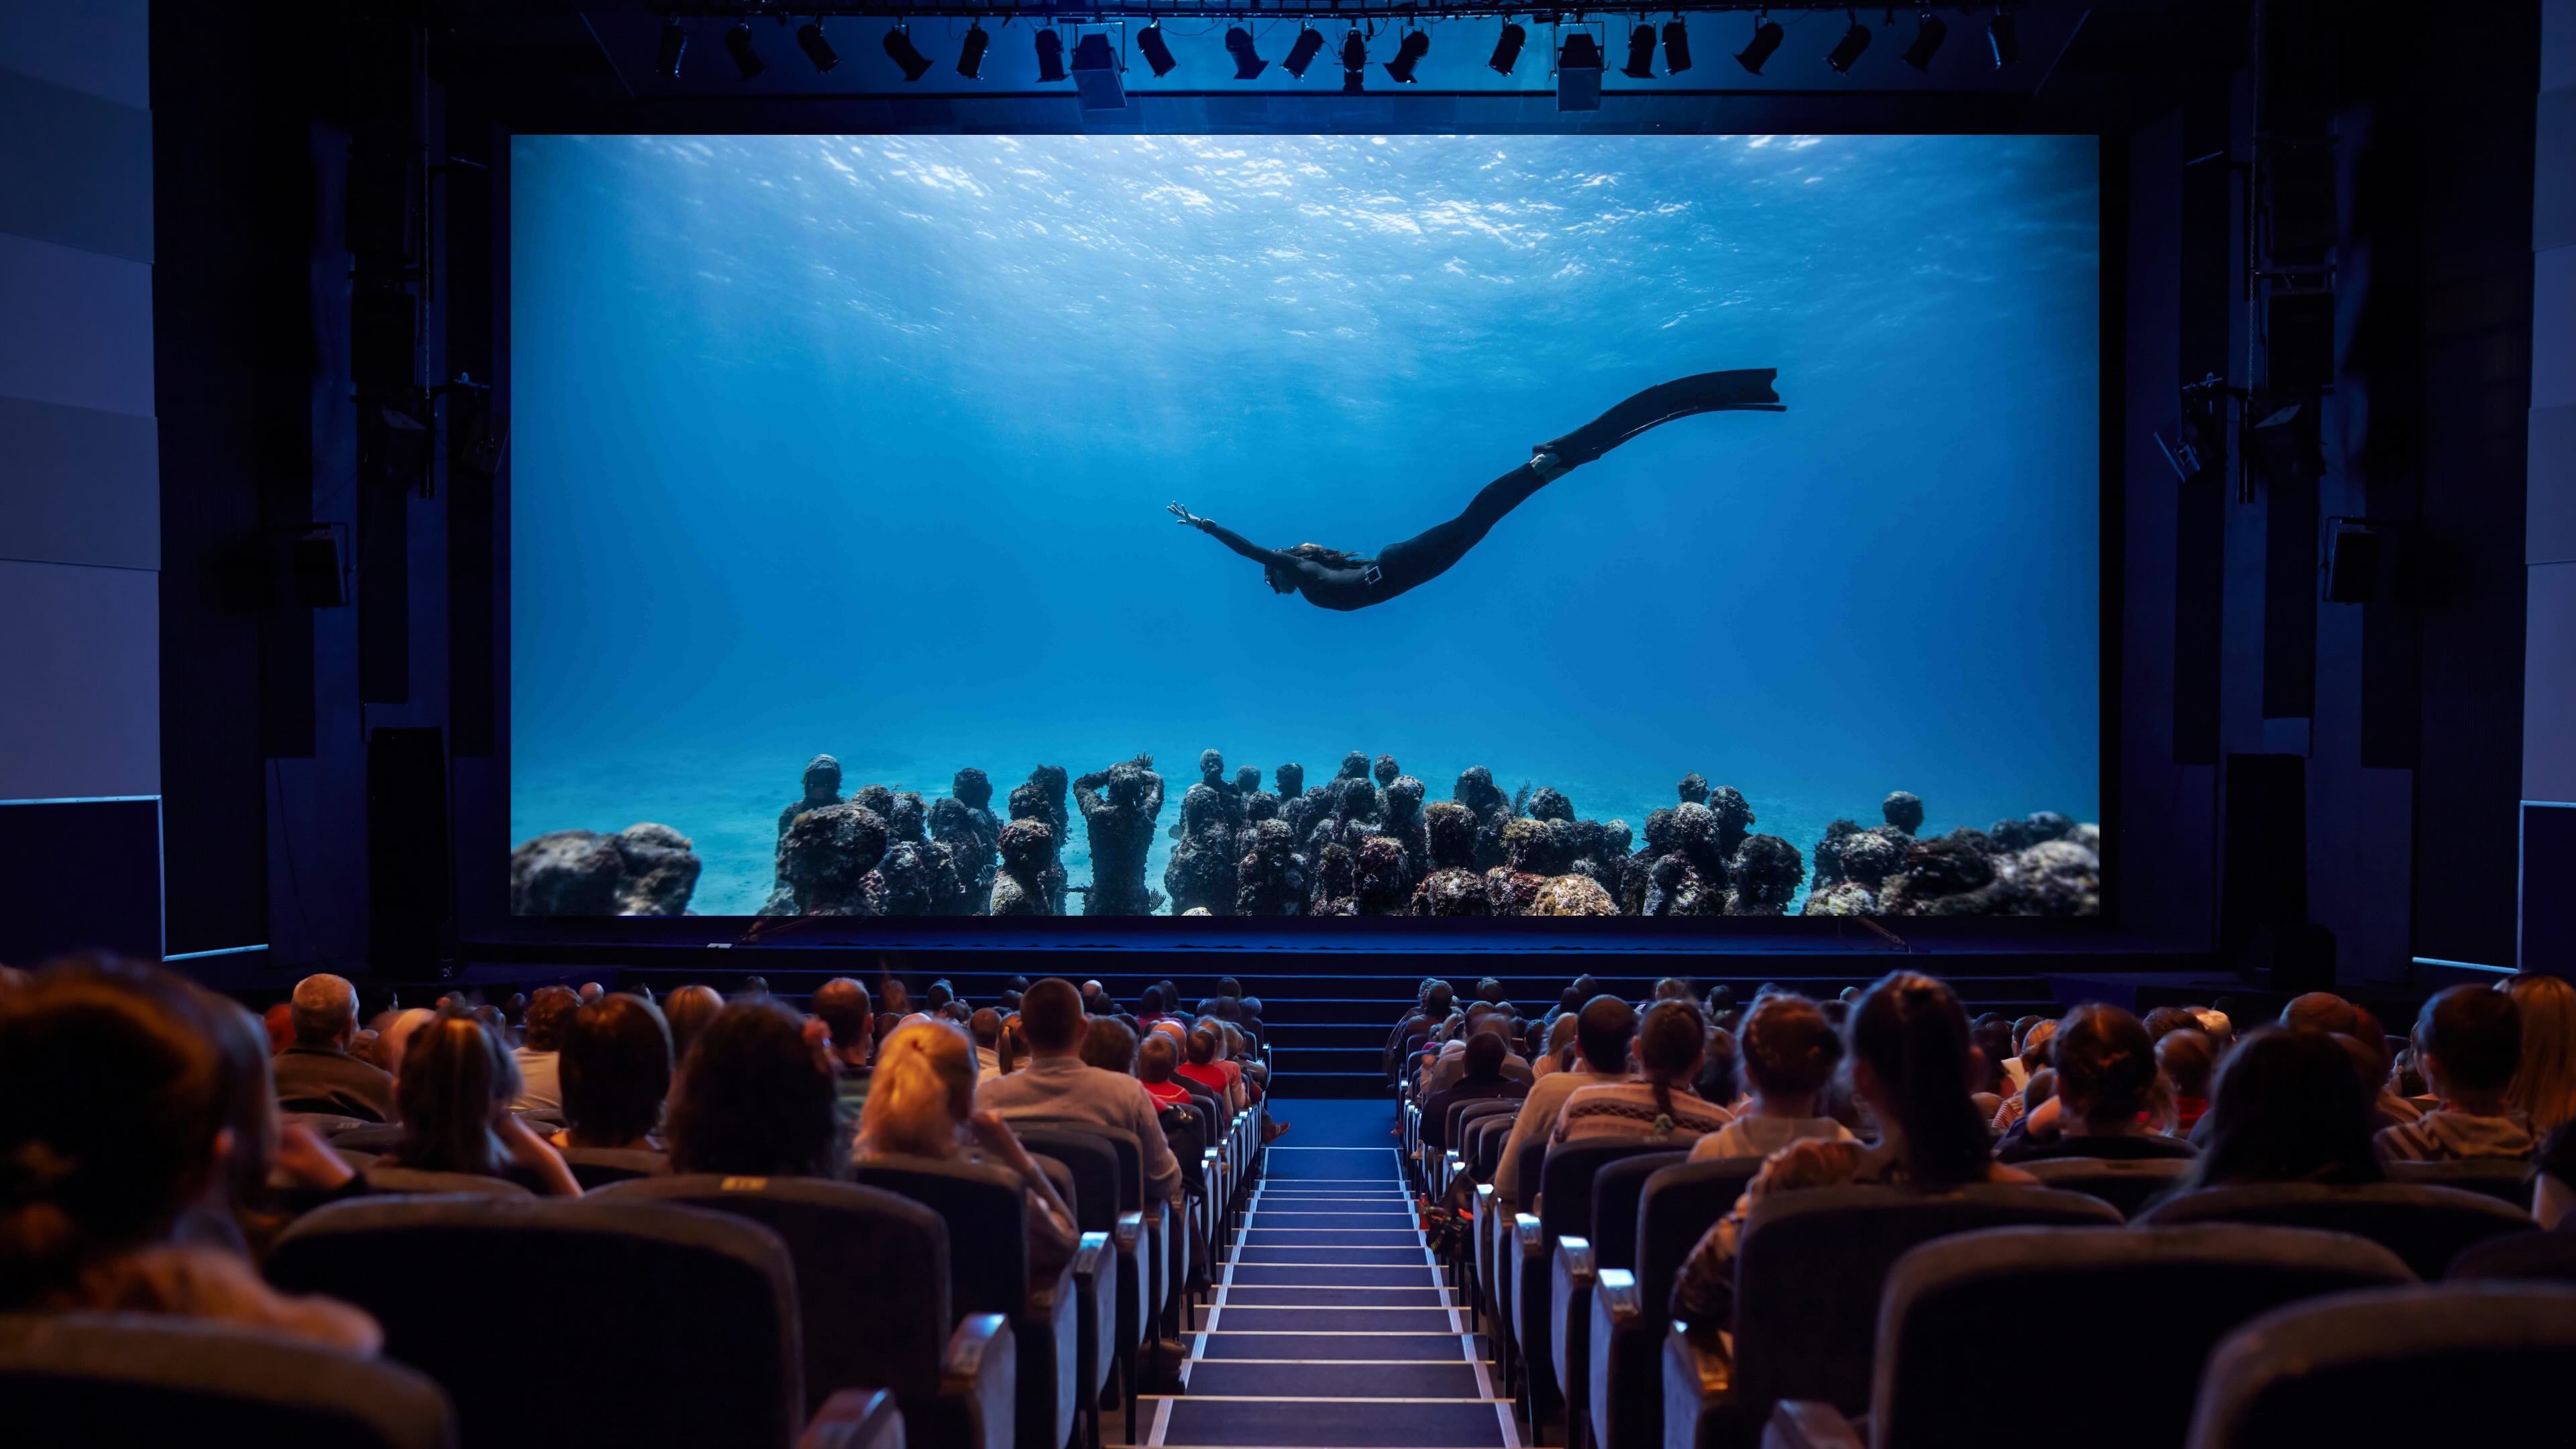
- Community screenings: Don't underestimate the power of showing your film to a live audience. A local screening and Q&A at a cinema, community centre or even a living room can generate word of mouth, press coverage and real connection with your audience.
- Social media: Share clips, behind-the-scenes content and the story of making the film. The process of filmmaking is often as interesting to people as the finished product. I've seen short clips from documentaries go viral and drive millions of views to the full film.
Planning to submit to festivals? Read my guide on how to get your documentary into film festivals.
Related guide: How to Get Your Documentary Distributed
Checklist: Make Your Own Documentary
I've put together a free documentary filmmaking checklist that takes you through these steps one by one, so you can tick them off as you go.
AI in Documentary Filmmaking
AI has become a real part of my workflow, and I think every filmmaker should understand where it helps and where it doesn't.
Where I use AI:
- Transcription: Turning hours of interviews into searchable text in minutes instead of days. This alone has changed my editing process.
- Audio cleanup: Removing background noise and improving voice clarity. Tools that used to require an expensive sound engineer now work with a single click.
- Footage organisation: AI can tag and categorise clips, making it far easier to find specific shots across large projects.
- Translation: For documentaries with foreign-language interviews, AI translation is a budget-friendly starting point (though I always get a human to check the results).
Where AI falls short: AI cannot replace the human core of documentary filmmaking. It doesn't notice the hesitation before someone says something honest, and it doesn't feel the tension in a room.
It can't build the trust with a subject that leads to the moment where they drop their guard and say something real. Those moments are what documentaries are built on, and they need a human being behind the camera.
The bigger concern: If AI is used to fabricate voices or generate footage without telling the audience, we lose the thing that makes documentaries powerful: authenticity. The filmmakers who thrive in this era will be the ones who build trust with their audience and subjects, not the ones who try to compete with machines on speed.
My approach: use AI as an assistant for the repetitive work, and keep the creative decisions, the storytelling and the relationships in your own hands. I go further in my post on AI filmmaking and the future of making documentaries.

Common Mistakes Beginners Make
After mentoring hundreds of first-time filmmakers, I see the same mistakes come up again and again:
- Waiting for perfect gear: You don't need it. Start with what you have. I've seen stunning documentaries shot entirely on iPhones and terrible ones shot on cinema cameras.
- Trying to tell too big a story: Narrow your focus. A deeply told story about one person in one place is almost always more compelling than a broad survey of a huge topic. Go deep, not wide.
- Not shooting enough B-roll: You will always need more cutaway footage than you think. Shoot the details: hands, objects, environments, textures. These shots are what make your edit flow smoothly.
- Neglecting audio: Audio quality matters more than video quality. Invest your first pounds or dollars in a decent microphone.
- Skipping the paper edit: Jumping straight into editing software without a plan leads to weeks of aimless cutting. Do the paper edit. It works.
- Never finishing: Perfectionism kills more documentaries than anything else. At some point, you have to decide the film is done and release it. Your first film won't be your best. It's not supposed to be. It's supposed to exist.
For more, here are my documentary filmmaking tips for beginners.
Start with a character, a goal and something at stake, keep your first film small, and see it through to the end.
Frequently Asked Questions About Making a Documentary
Can I make a documentary with no experience?
Yes. I made my first documentary with no formal training, no film school degree and no industry connections. All you need is a story you care about, a camera (even a phone) and the willingness to learn as you go. If you want a structured path, my guide on how to become a documentary filmmaker without film school lays it out.
How do you make a documentary for a school project?
Follow the same 12 steps, just scaled down. Pick a subject you can reach easily, film it on your phone and edit with a free app like DaVinci Resolve. Keep it short (3 to 5 minutes is plenty) and put your energy into the story and clean audio rather than fancy kit. Steps 1, 8 and 10 are the ones to focus on.
How much money do you need to make a documentary?
You can make a documentary for almost nothing: shoot on a phone, edit with free software like DaVinci Resolve and use natural light. A short documentary can be made for under $500, while a feature-length independent documentary typically costs between $5,000 and $50,000, depending on travel, crew and licensing. See Step 6 for a full budget breakdown.
How do I fund a documentary?
Common options include grants, crowdfunding, pre-sales to broadcasters, private investors and self-funding. Many first-time filmmakers fund their projects out of pocket and keep costs low. My guide on funding a documentary covers each option.
What are the 5 elements of a good documentary?
A strong documentary needs (1) a compelling character or subject the audience cares about, (2) a clear story structure with a beginning, middle and end, (3) honest and authentic storytelling, (4) strong audio and visuals that hold attention, and (5) a point of view that gives the film a reason to exist. I cover each of these in the 12 steps above.
How long does it take to make a documentary?
A short documentary (5 to 15 minutes) can take anywhere from a few weeks to a few months. A feature-length documentary (60 to 90+ minutes) typically takes 6 months to 2 years from concept to finished film. The biggest variables are access to your subject, the amount of footage needed and editing time, so plan well in pre-production (see Step 6).
What equipment do I need to make a documentary?
At minimum, a camera and a microphone, and a modern smartphone that shoots 4K is a fine starting point. The most important upgrade is audio: a dedicated microphone like a Rode VideoMic or a lavalier mic makes a bigger difference than any camera upgrade. Add a tripod, extra batteries and storage cards, and see Step 7 for detailed camera recommendations.
Do I need a script before filming a documentary?
No. In documentary filmmaking, the script usually comes after you film. You write a treatment and outline before shooting (see Step 5), then create the script during editing from the footage you captured. See Step 9 for the full process.