Record Great Audio as a Solo Filmmaker: 6 Proven Tips
Bad audio will make your documentary unwatchable faster than a shaky shot ever will, so learning how to record great sounding audio as a solo filmmaker is essential.
When you're a solo filmmaker there's so much to think about: locations, equipment, release forms, funding, the list goes on and on. With so much happening, it's easy for seemingly small things to slip under the radar only to come back to bite you when you hit the post-production phase. Sound is definitely one of those things!
What You'll Learn
- Why Sound Makes or Breaks Your Film
- 6 Essential Audio Recording Tips for Filmmakers
- The Key to Seamless Sound in Post-Production
- Best Mics for Documentary Interviews
- How to Record Multi-Person Interviews
- Hiding Lavalier Mics for Documentaries
- Frequently Asked Questions
Why Sound Makes or Breaks Your Film
It's often overlooked, but poor sound can really hurt a film and it's often what makes a beginner filmmaker stand out like a sore thumb. When watching a film, people will generally forgive bad visuals for a few minutes, but with bad sound, people will stop watching within seconds. Remember, that what people hear is 50 percent of their viewing experience. Sound isn't a small thing you can simply worry about later; it's half the film.
So to save you from pouring all this time and effort into your film, only to have the audience not watch it, I've put together six tips for how to record great-sounding audio as a solo filmmaker:
6 Essential Audio Recording Tips for Filmmakers
1. Plan Ahead For Clean Audio in Your Film
Visit your location in advance and plan how to minimise noise pollution and decide which is the best time of day to film. For example, if I was filming in a location near a busy road, it would be better to film on either side of peak hour traffic, as there would be less noise from all the different vehicles on the road.
Listen for background noise you might normally tune out: air conditioning, buzzing lights, humming fridges. Your ears filter these sounds automatically, but your microphone won't. Switch off anything you can and close windows and doors before you start rolling.

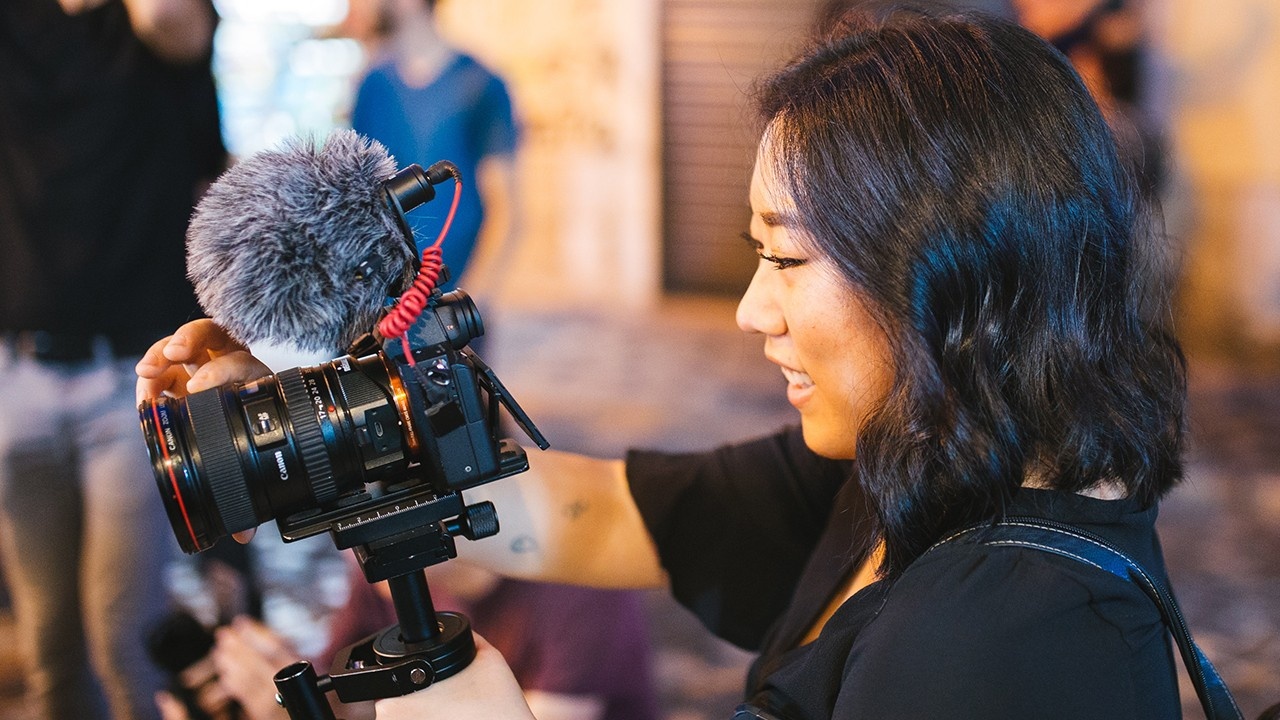
2. Choose The Right Microphone When Filming
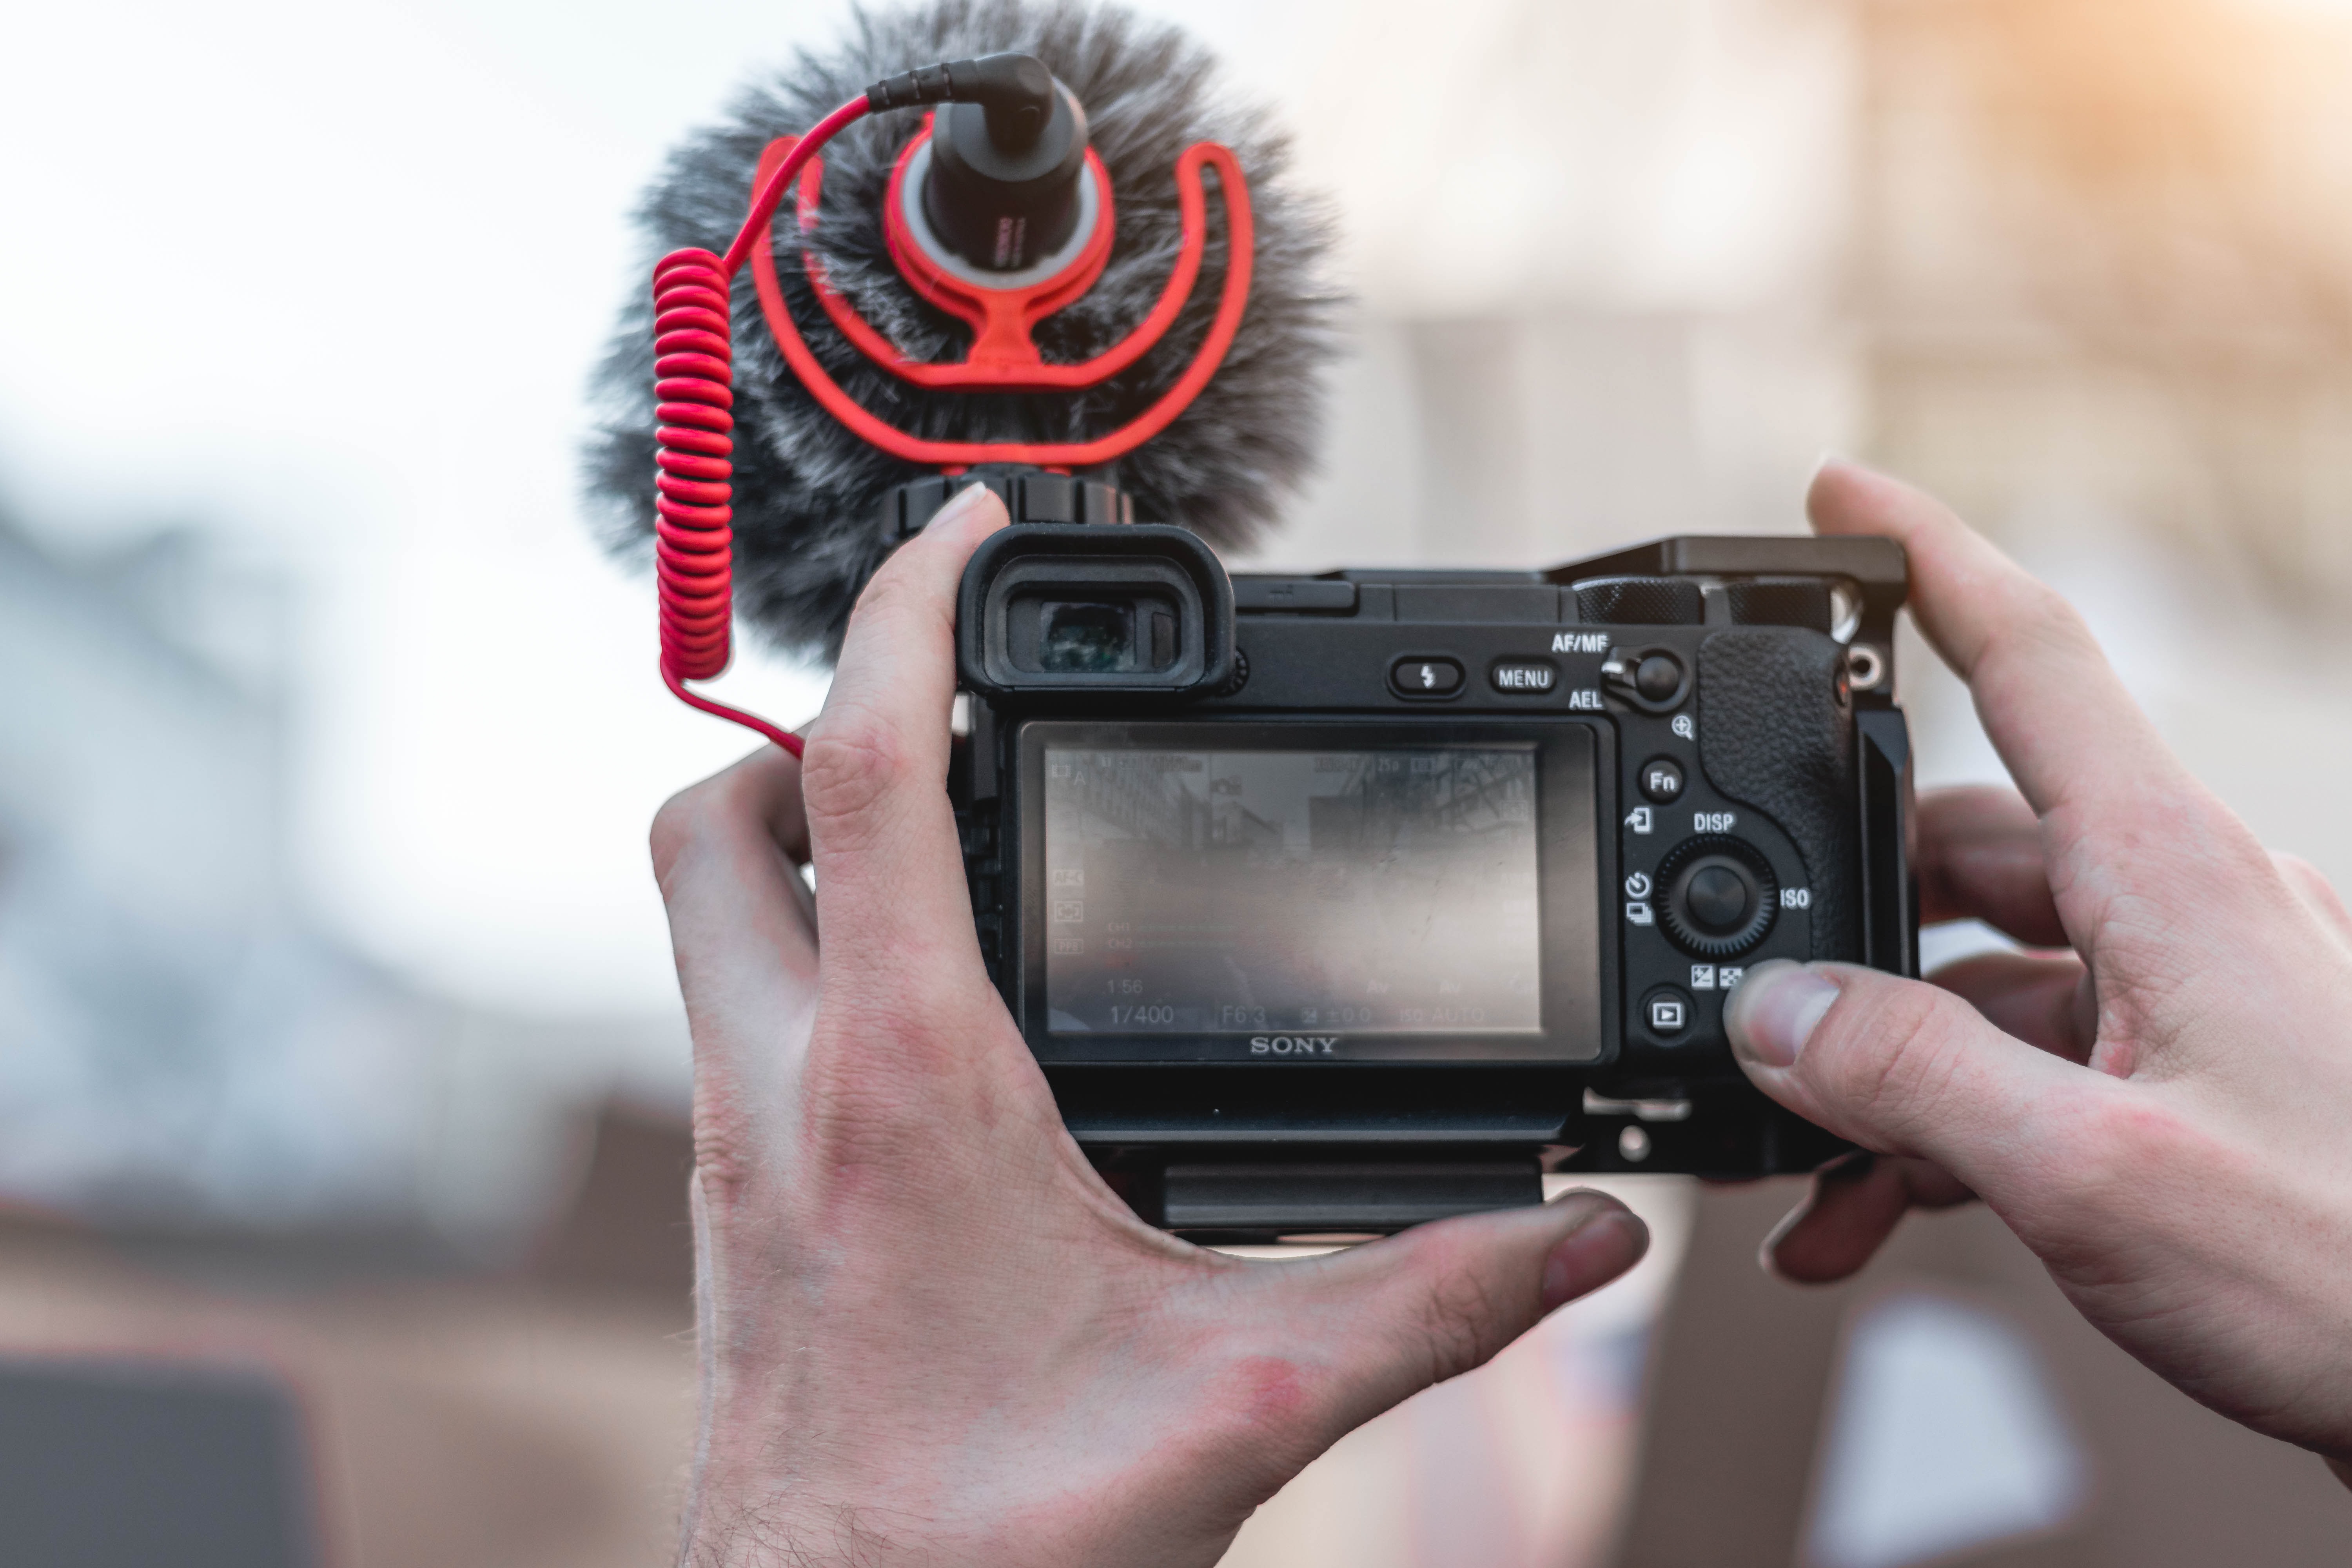
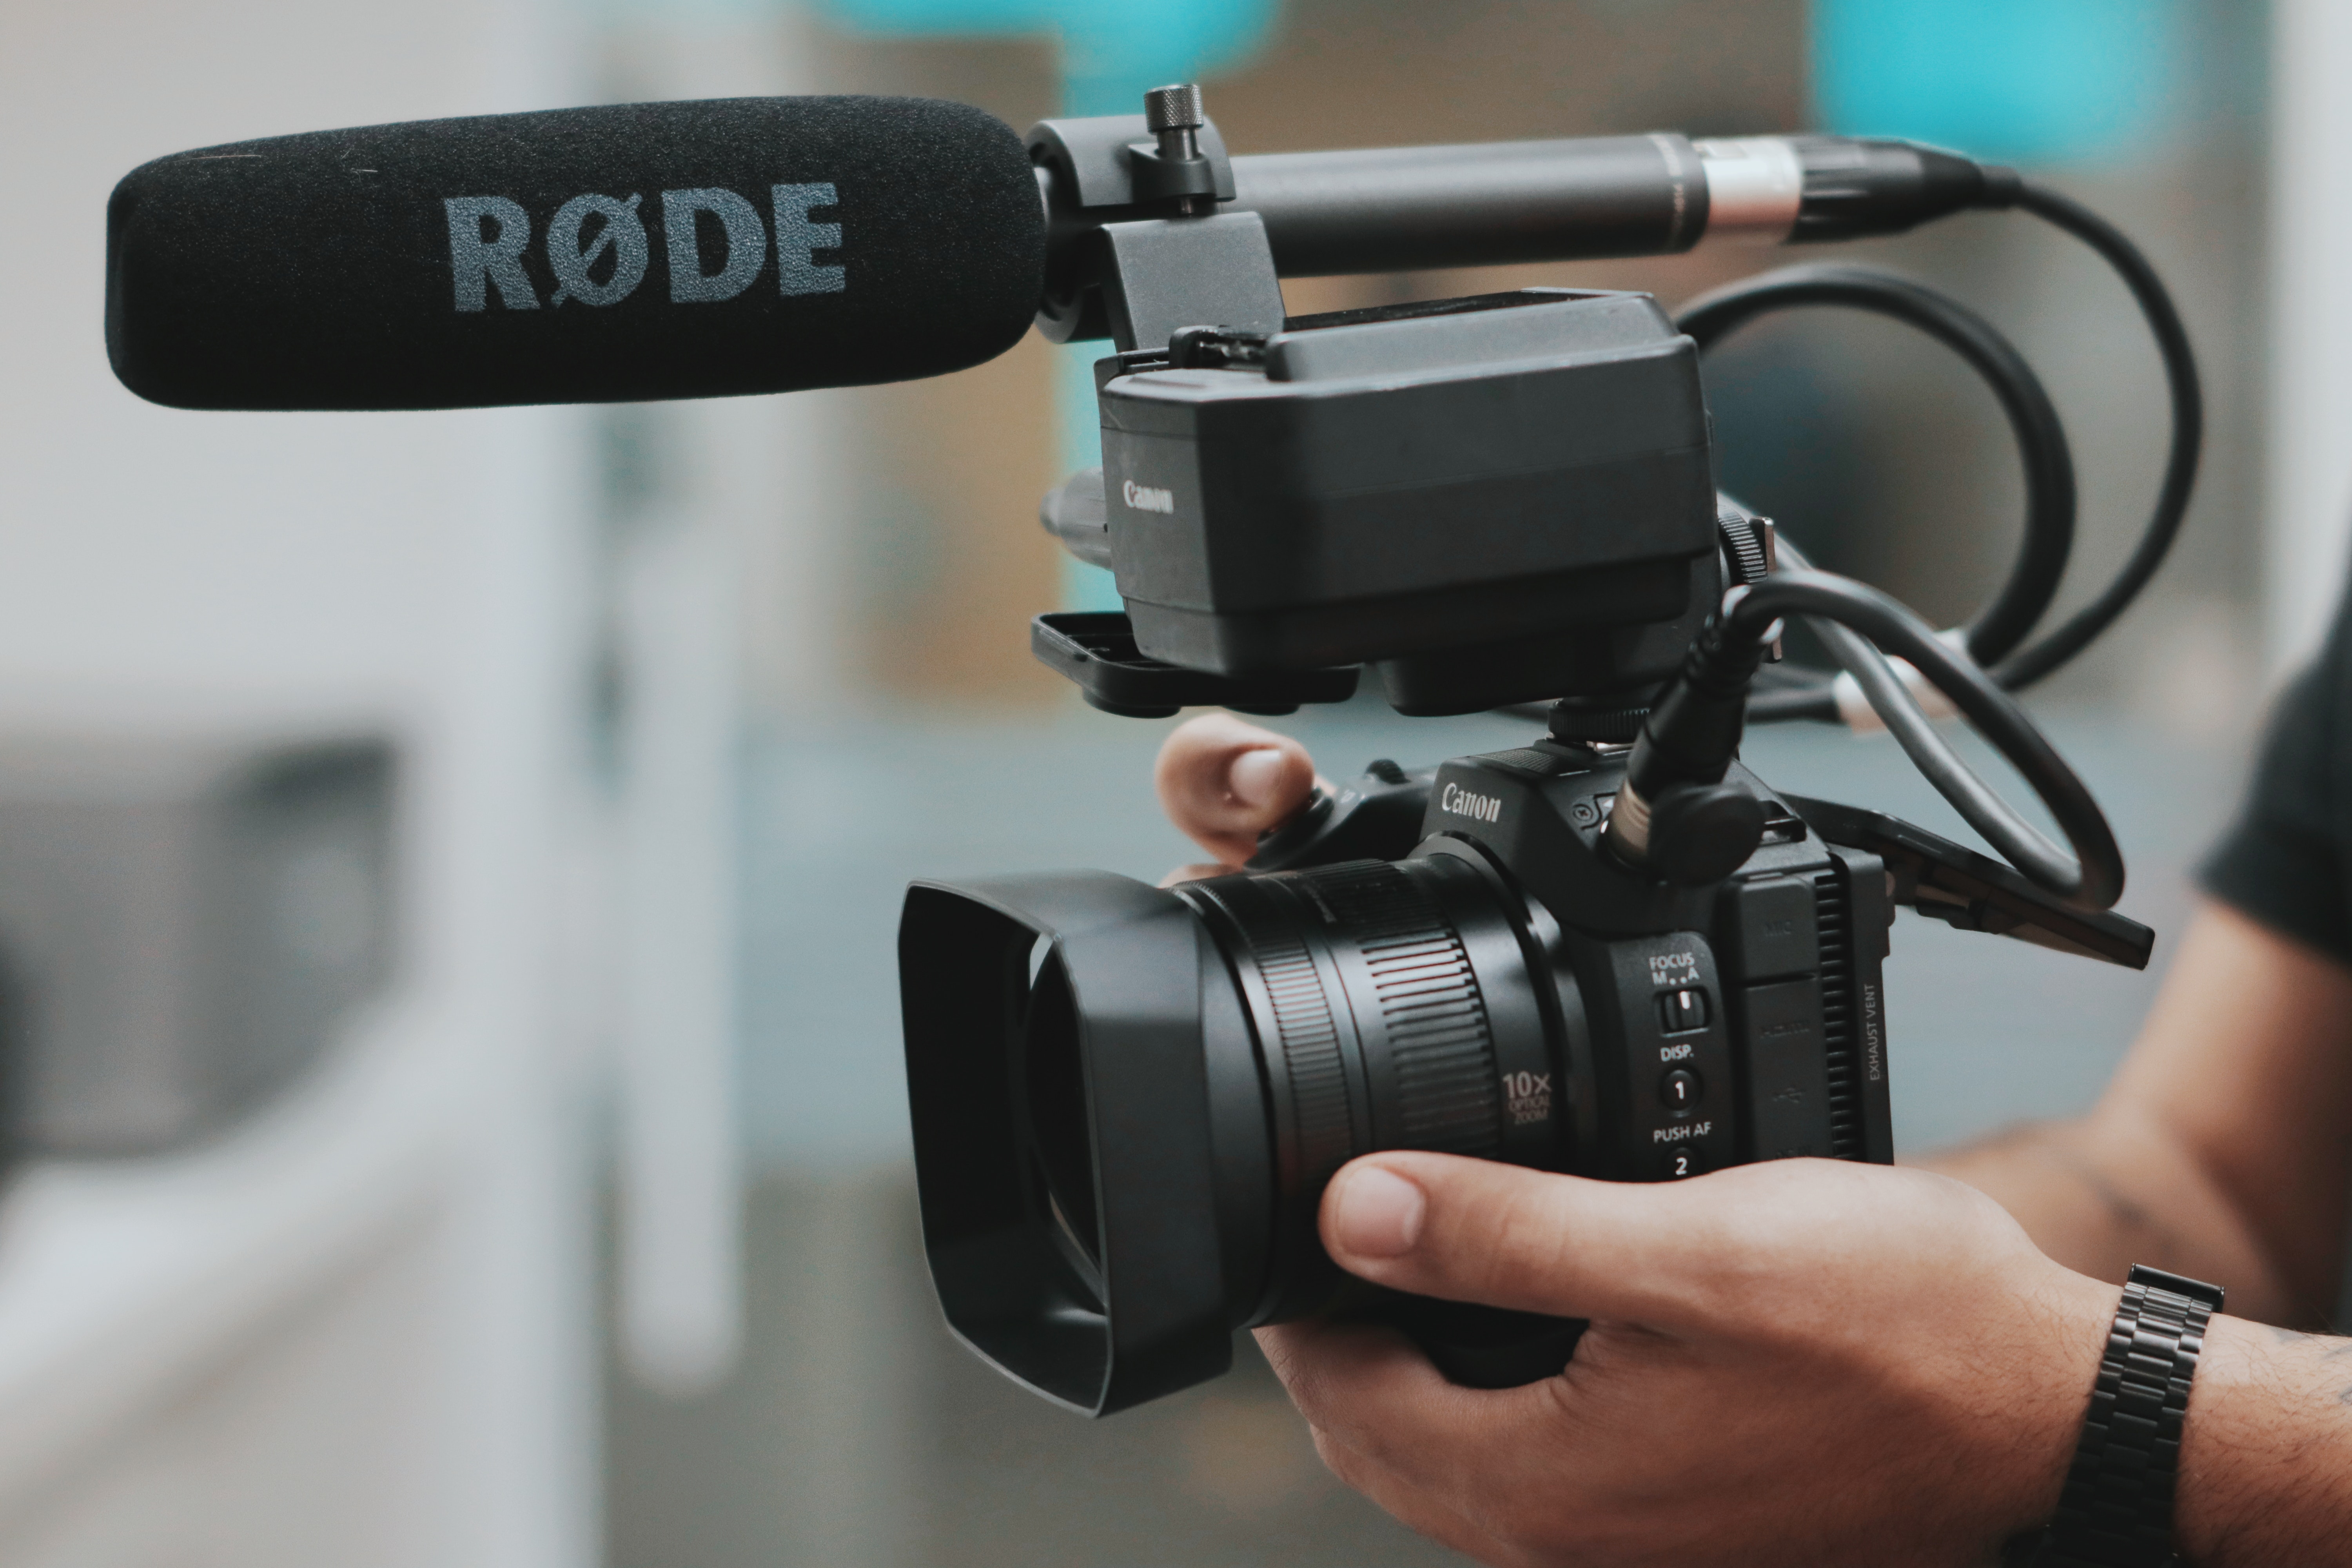
Don't rely on your camera's built-in microphone as your main source of audio. It's a low quality mic that picks up handling noise and room echo. Instead, use a shotgun mic, Rode Mic or a lapel mic. For example, here I'm filming with the built-in microphone and it sounds very tinny and amateur. The best option is to have a boom operator who can keep a shotgun mic close to the subject. Like this, which has a much fuller and rich sound.
However, this is not always possible so I recommend putting a shotgun mic on top of your camera, such as the Rode VideoMic Pro, like this, which is great for run and gun filmmaking or using a wireless lapel mic, like this, which you can attach to your subject and have them move around and still capture great quality sound.
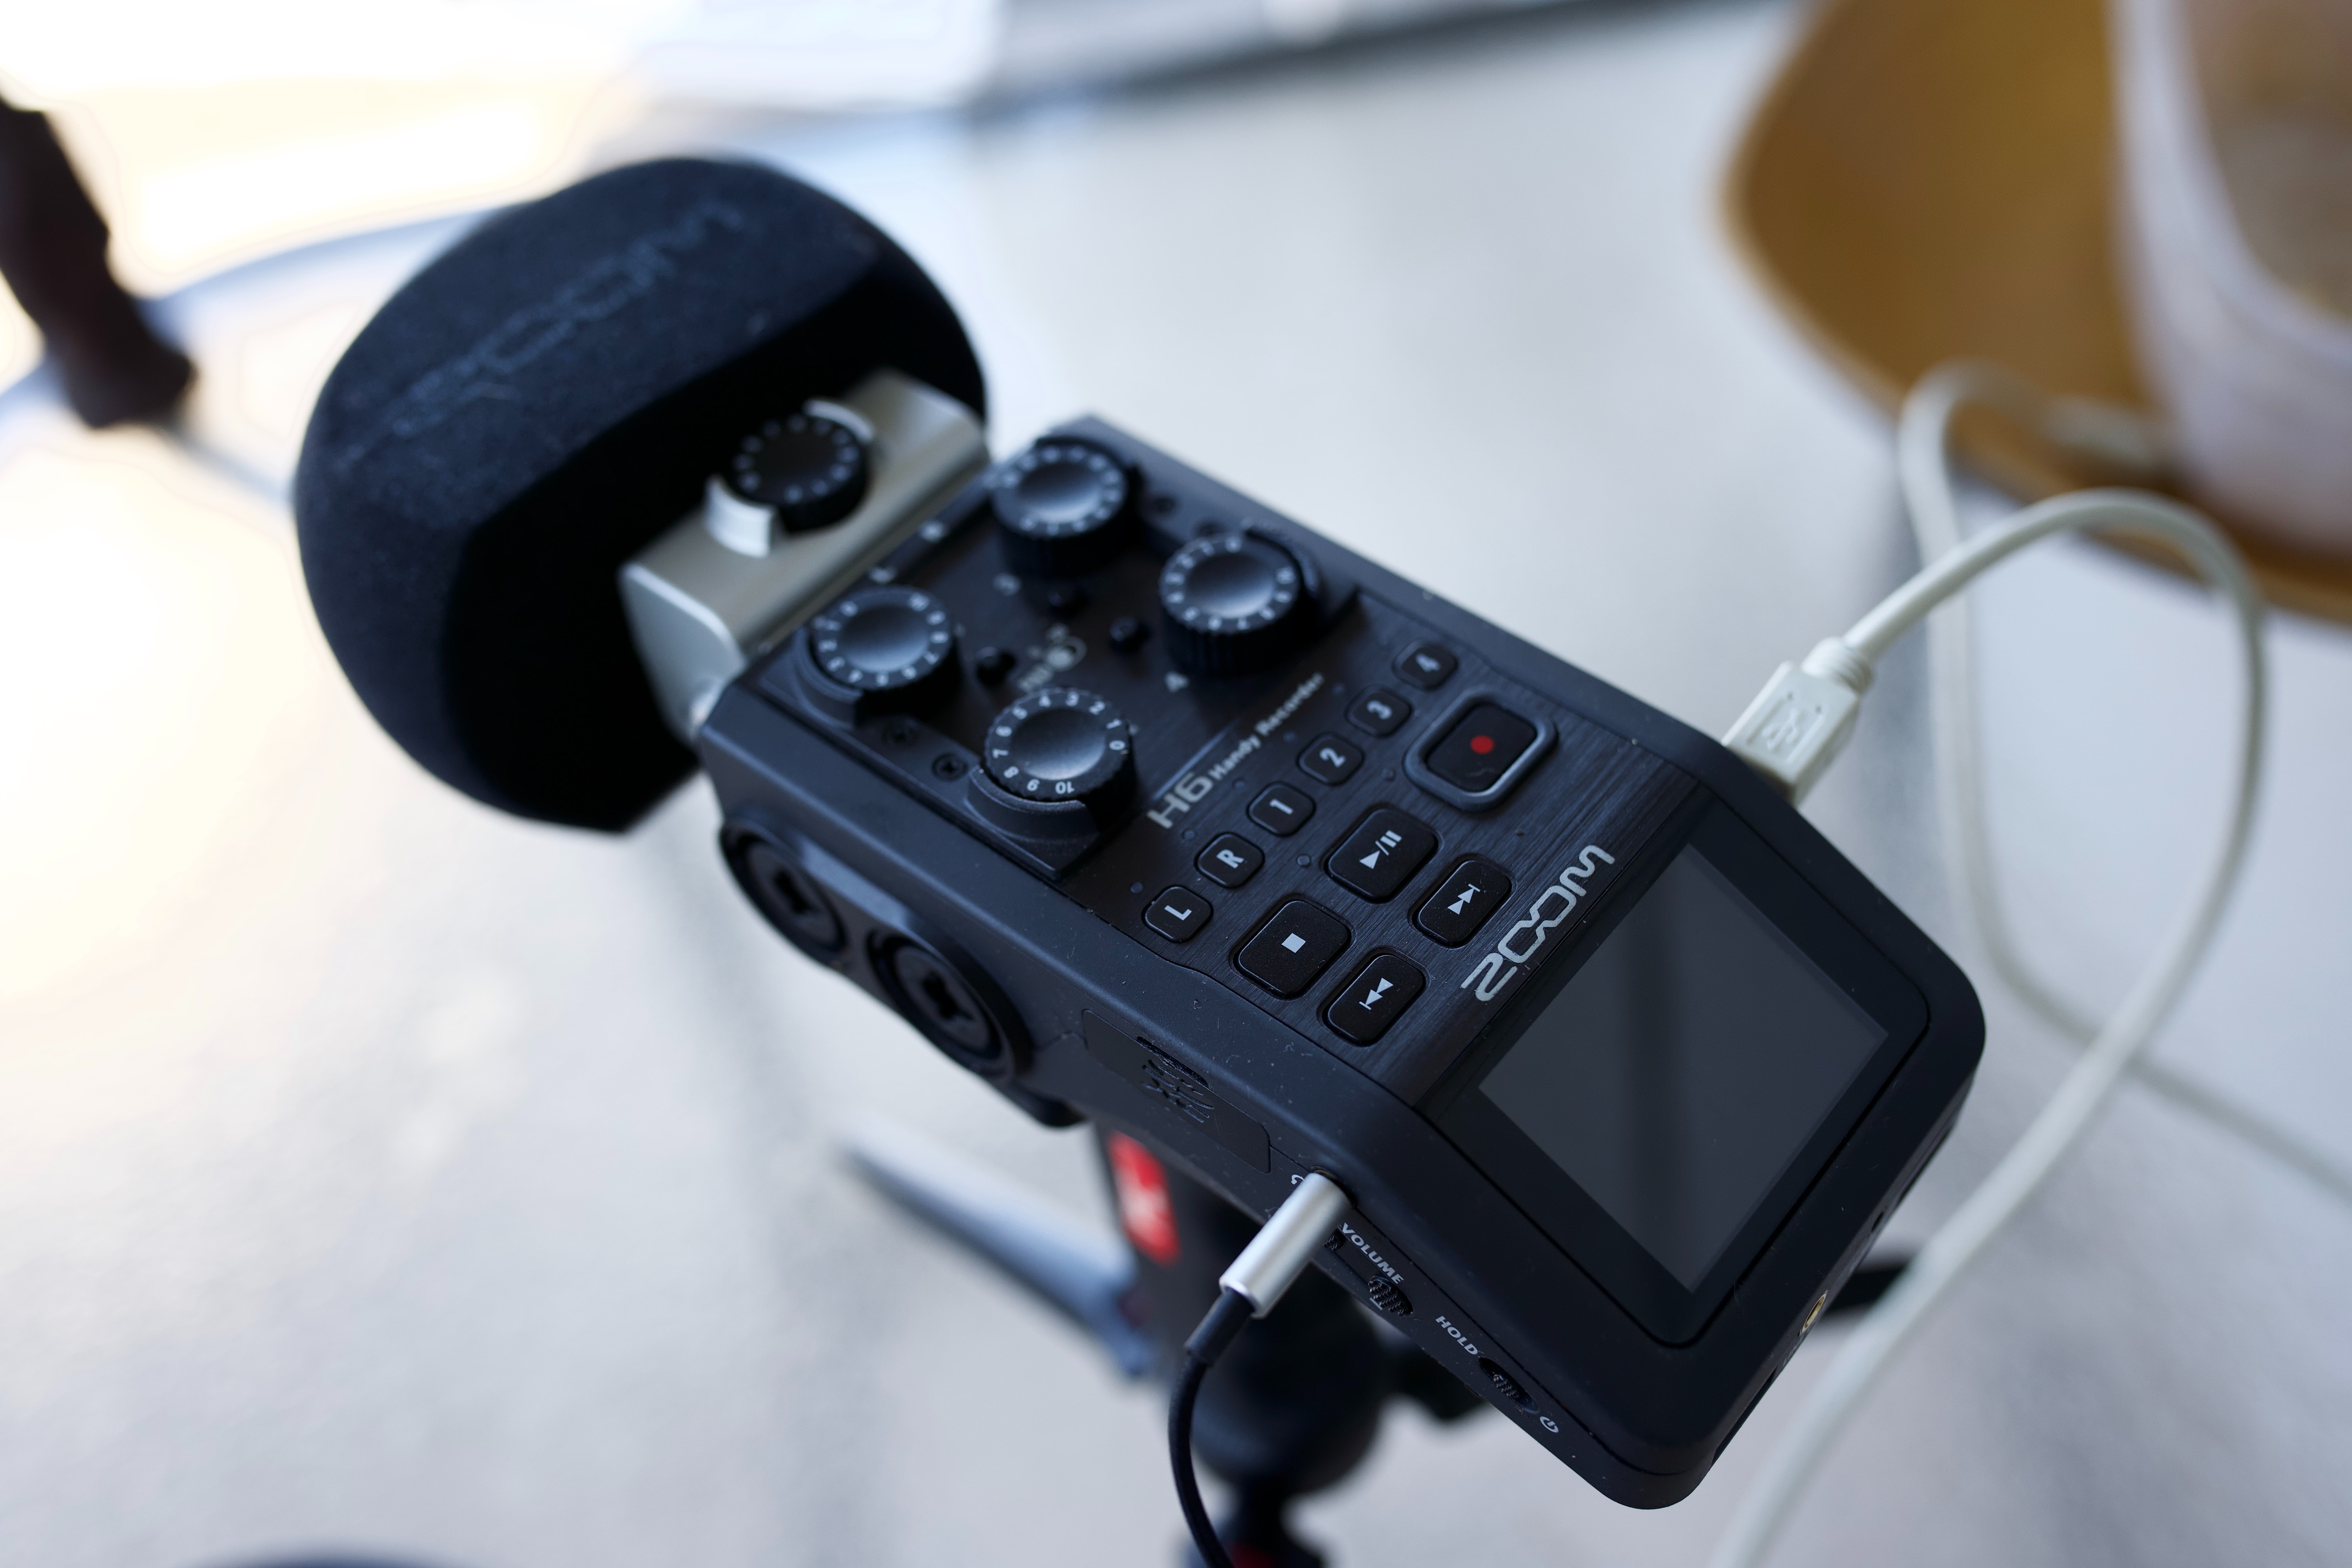
If you're shooting with a DSLR or mirrorless camera, consider recording audio into a separate field recorder like the Zoom H5 or Tascam DR-60D. These give you better preamps and 24-bit recording, which means cleaner audio with more room to adjust levels in post. You'll need to sync the audio to your video in editing, but a simple handclap at the start of each take makes that easy.
3. Prioritise Microphone Placement for Clean and Crisp Audio
The closer the mic is to your subject, the cleaner the sound. This is because microphones don't filter background noise the way our brains do. The further away the mic sits, the more room echo, traffic, and ambient noise creeps in. Getting the mic close improves your signal-to-noise ratio, which is the balance between the voice you want and everything else.
A good rule of thumb is the 3-to-1 rule: the distance between microphones should be at least three times the distance from each mic to its sound source. This prevents phase issues when you're using multiple mics on set. Try out different options and get creative.
But the real art of microphone placement isn't just about getting it as close to your subject as possible, it's also about making sure it doesn't come into shot, or if it is in the shot, it doesn't feel out of place.
4. Monitor Audio Levels When Filming
Make sure your sound is always below zero decibels, otherwise it will distort. The sweet spot is around -10 to -12 dB. If your levels hit 0 dB or go into the red, the audio clips and that distortion can't be fixed in post.
If you're recording audio in an environment where the level of the sound is changing all the time, it's better to have a slightly lower audio level and just keep monitoring and changing the levels to match the changing environment.
Always monitor with closed-back headphones, not earbuds. Headphones like the Sony MDR-7506 or Sennheiser HD 280 Pro let you hear problems, such as rustling clothes, distant sirens, or a buzzing light, that you'd miss just watching the meters. Wearing headphones sharpens your listening in a way that simply watching level meters never will.
5. Capture Ambient Sound at Each Filming Location
Spend a couple of minutes capturing a wildtrack which is where you record the local ambience of the location, whether that's the birds tweeting in the park or people chattering in a cafe. This can then be used in the edit to help smooth out cuts between two different shots in a scene.
Without a wildtrack, gaps in your audio between edits will sound like dead silence, which feels jarring and unnatural to the viewer. Even 30 to 60 seconds of room tone is enough to give you the material you need for smooth sound bridges in post-production editing.
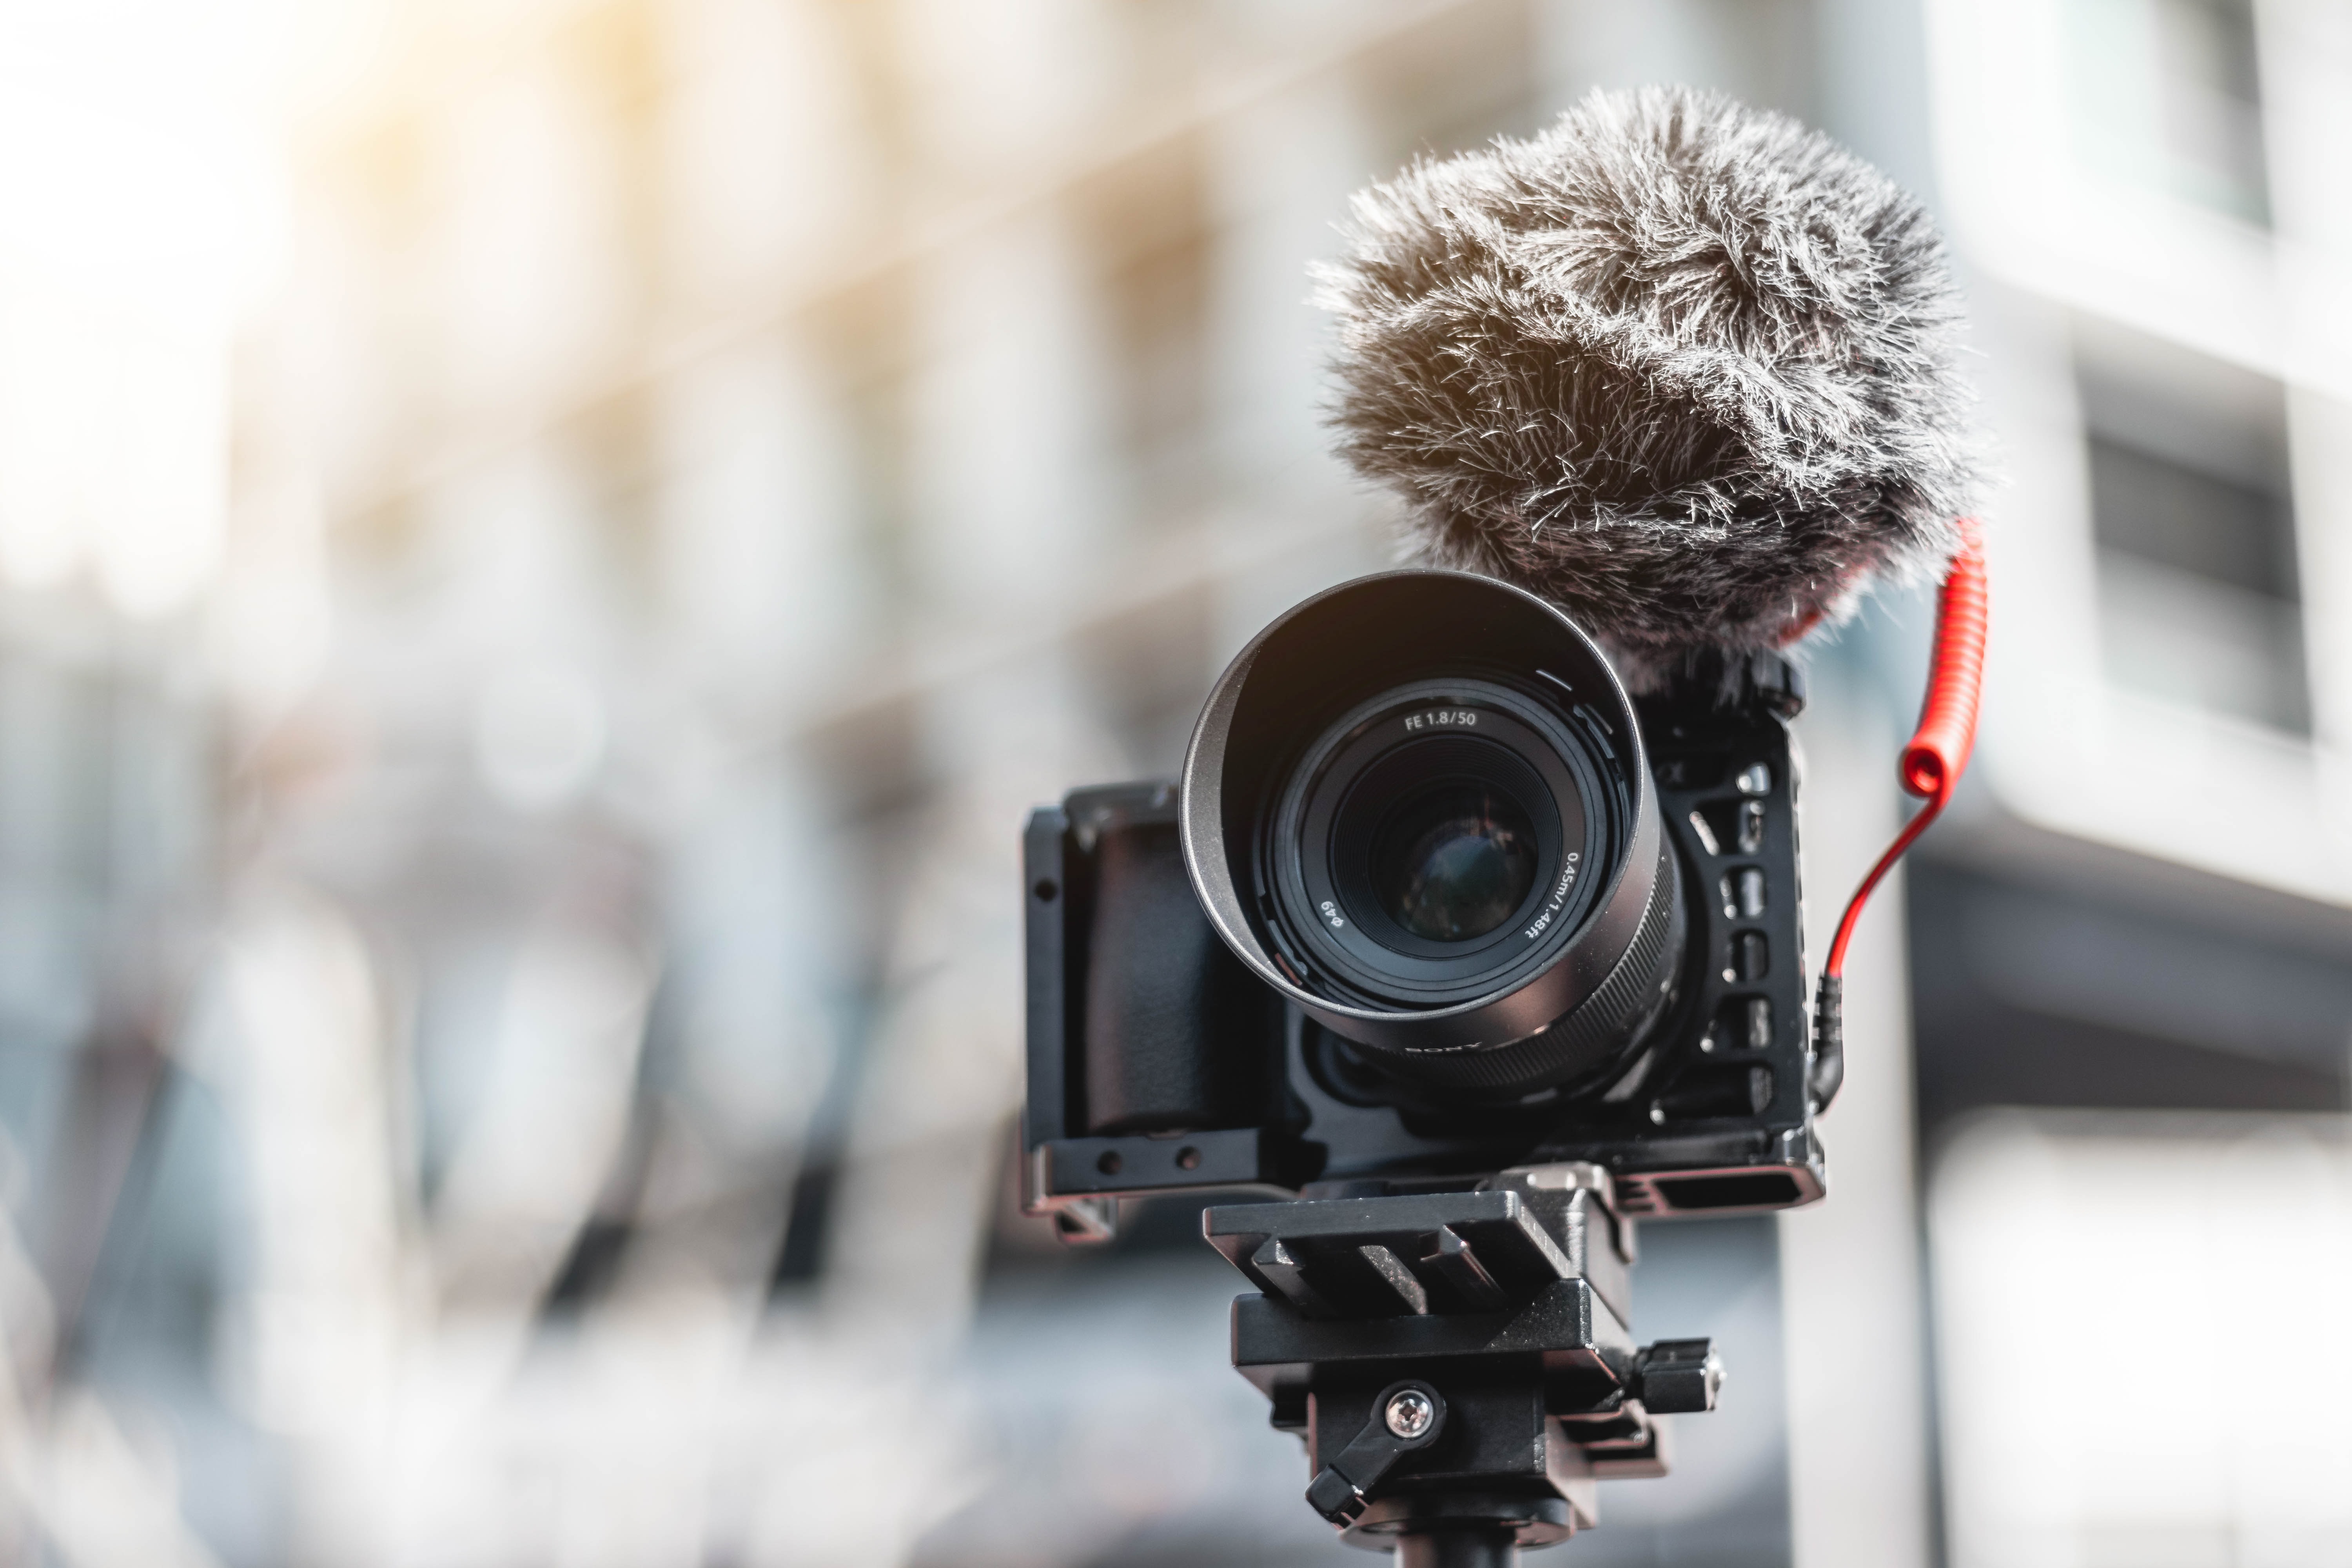
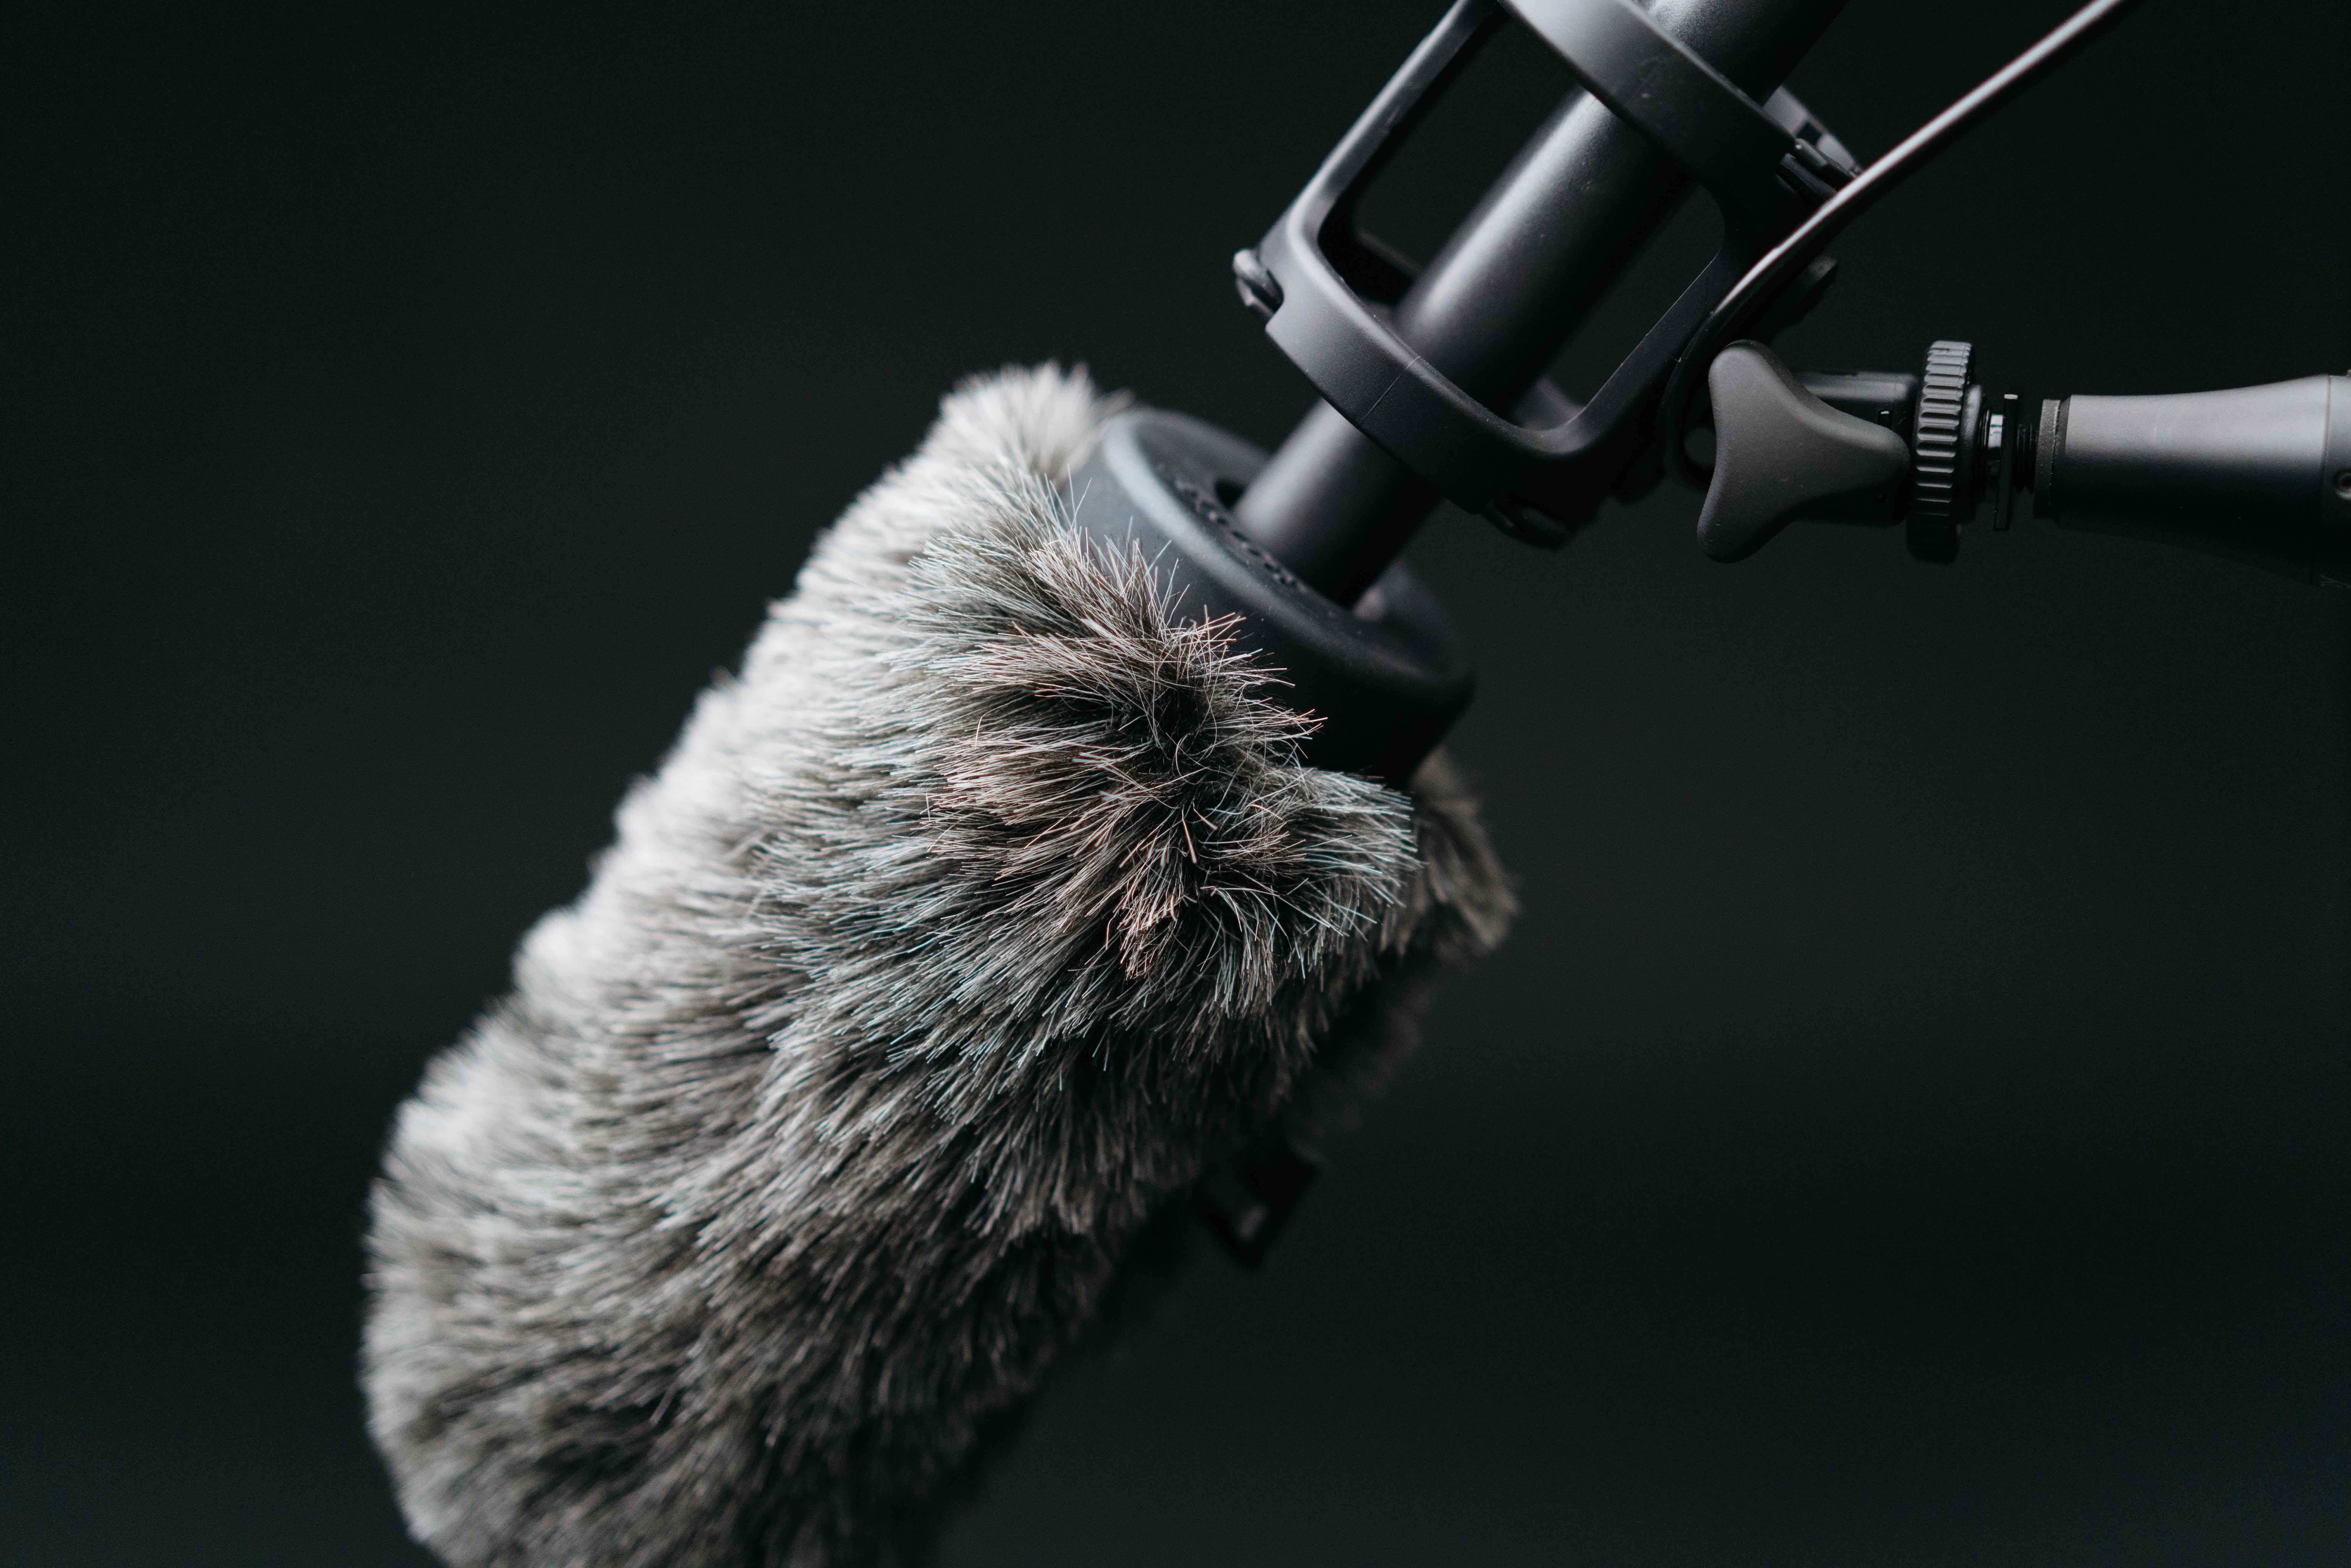
6. Use a Windsock or Windscreen For Clean Audio
When filming outdoors, especially in locations where you're exposed to the elements such as mountains and close to the ocean. I've found windsocks help, but only a little. Whereas windscreens make a significant difference, especially when combined with a windsock. I use the Rode blimp windshield for my Rode NTG3.
Even a light breeze hitting an unprotected microphone can sound like a freight train on your recording. A furry windscreen (sometimes called a "dead cat") is one of the cheapest accessories that makes the biggest difference to your outdoor audio quality.
The Key to Seamless Sound in Post-Production
Remember it's always easier to fix a problem before you film than in post-production when you're editing your film. Sometimes it may feel more stressful to take a moment to fix these issues if you're under time pressures but you'll always thank yourself when you get to editing if you're able to solve the issues on the day.
If you want to go deeper into the editing side, I cover audio mixing and more in my guide to editing a documentary.
Best Mics for Documentary Interviews
Choosing the right microphone is a big part of capturing clean audio in documentary interviews. Here's how the main types compare:
Lavalier (lav) mics like the Rode Lavalier GO or Sennheiser ME 2-II are small, discreet, and clip to your subject's clothing. They're my go-to for sit-down interviews because they give consistent levels even if your subject moves their head. The downside is they can pick up clothing rustle if they're not mounted carefully.
Shotgun mics like the Rode NTG3 or Sennheiser MKE 600 capture directional audio, isolating the speaker's voice even in noisier environments. I use a shotgun on a boom for interviews whenever I have someone to operate it, because the sound quality is hard to beat.
Small diaphragm condenser mics work well for recording ambient sound or group discussions where you want a wider pickup pattern.
Using a combination of mics often gives you the most flexibility. I'll typically run a lav for safety and a boom-mounted shotgun as my primary, so I have options when I get to the edit. For more on setting up interviews, see my guide to filming documentary interviews.
How to Record Multi-Person Interviews for Documentaries
Recording multi-person interviews requires careful planning to capture each voice clearly. The approach I use: put a lav mic on each participant for individual clarity, and run a shotgun or boom mic to capture overall group sound and ambience.
Arrange participants so they're facing each other to encourage natural conversation, but position them so each lav has good separation from the others. Conduct thorough sound checks to balance levels and placement before you start rolling.
In post-production, having each voice on a separate track lets you mix and balance the dialogue properly, rather than trying to fix a single combined recording.
Hiding Lavalier Mics for Documentaries: Tips and Tricks
Hiding lavs in documentaries is a skill that takes practice. Choose small mics and use mounts or clips to place them under collars, in pockets, or behind thin fabrics.
The "looping" method helps reduce cable noise: loop the microphone cable and tape it to the inside of clothing. This stops rustling noises caused by the cable moving against fabric. Moleskin (a soft, adhesive-backed cotton fabric) is another trick that reduces friction noise and helps secure the mic in place.
Good placement spots include buttonholes, under lapels, or taped to the inside of a shirt between buttons. Always test audio before filming to check for clothing noise. With practice, your lavs will stay invisible and let the audience focus on the story.
Frequently Asked Questions
What is the 3-to-1 rule in audio?
The 3-to-1 rule says the distance between two microphones should be at least three times the distance from each microphone to its sound source. For example, if a lav mic is 15cm from a speaker's mouth, the next mic should be at least 45cm away. This prevents phase cancellation, which causes hollow or thin-sounding audio when two mics pick up the same source at slightly different times.
How do I get good audio when filming by myself?
Use an external microphone (not your camera's built-in mic), get it as close to your subject as possible, monitor with closed-back headphones, and record ambient sound at every location. A wireless lav mic is often the easiest option for solo documentary filmmaking because it frees you up to operate the camera at the same time.
What audio levels should I aim for when recording?
Set your recording levels so dialogue peaks around -10 to -12 dB. Never let your meters hit 0 dB or go red, as this means the signal is clipping and that distortion is permanent. If your recorder supports it, record a safety track 10 to 12 dB below your main track so you have a backup if an unexpected loud moment occurs.
Do I need an external audio recorder, or can I record straight to my camera?
For DSLRs and mirrorless cameras, an external recorder like the Zoom H5 or Tascam DR-60D will give you much better results. Camera preamps tend to be noisy, and most only record 16-bit audio. An external recorder gives you cleaner preamps and 24-bit recording, which means more dynamic range and less noise. Professional camcorders with XLR inputs and decent built-in preamps can record perfectly good audio directly.
Free Documentary Filmmaking Training
If you want more filmmaking tips like in this blog, I've put together a free documentary training video where I share how I make cinematic documentaries. Click here to sign up and get instant access.