8 Cinematic Gimbal Moves Every Filmmaker Should Know
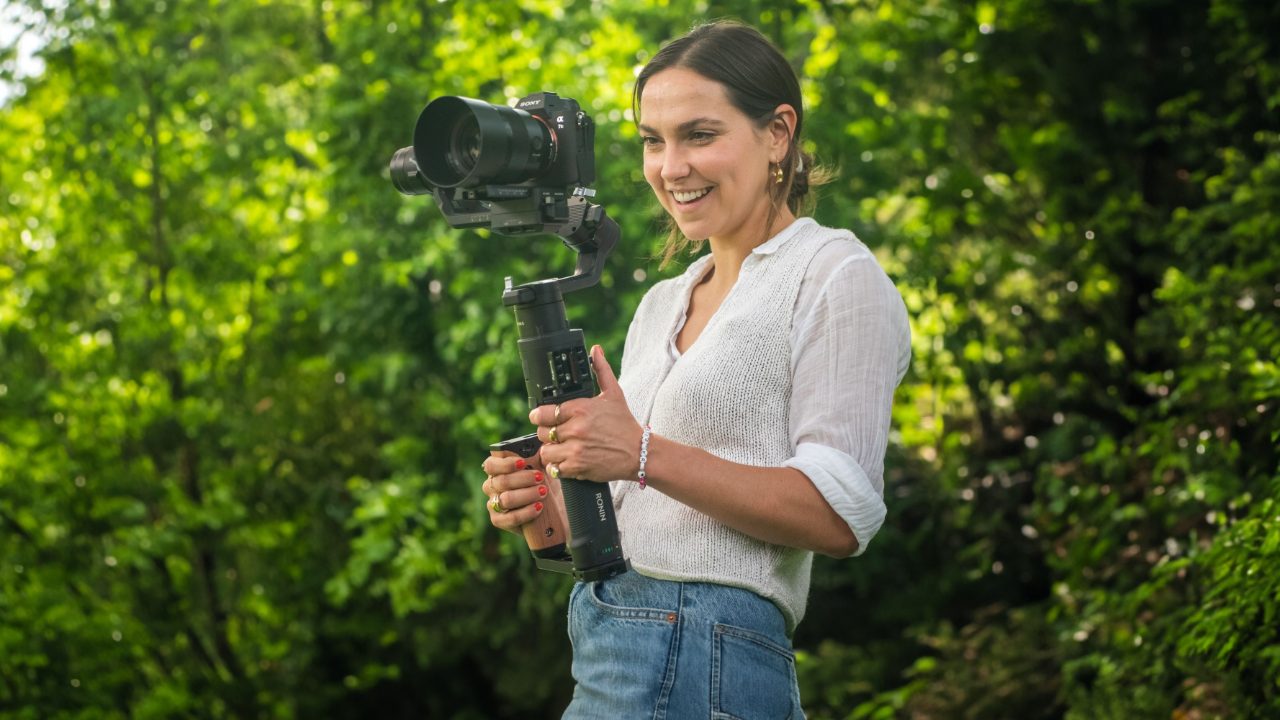
In short: The eight cinematic gimbal moves every filmmaker should know are the push-in or pull-out, tracking shot, parallax, low angle, crane, tilt, transition and toe to head. Before any of them, bend your knees and walk smoothly so the footage doesn't bob up and down.
Cinematic gimbal techniques turn shaky, amateurish footage into smooth, professional shots, and you don't need a Hollywood budget to do them.
You know the feeling: you play back your footage and the scenes don't flow the way you imagined. Learning these eight gimbal moves will turn simple handheld shots into sweeping, cinematic scenes.
You can also download my free cinematic gimbal techniques guide to keep the moves to hand on set.
Why Your Gimbal Footage Is Shaky
Before the moves, there's one thing to get right first. I see a lot of beginners pick up a gimbal, film with it, then wonder why the footage doesn't look cinematic. Most of the time it comes down to how they're walking.
When you walk normally, you move up and down slightly, so your footage picks up a strange bobbing motion.
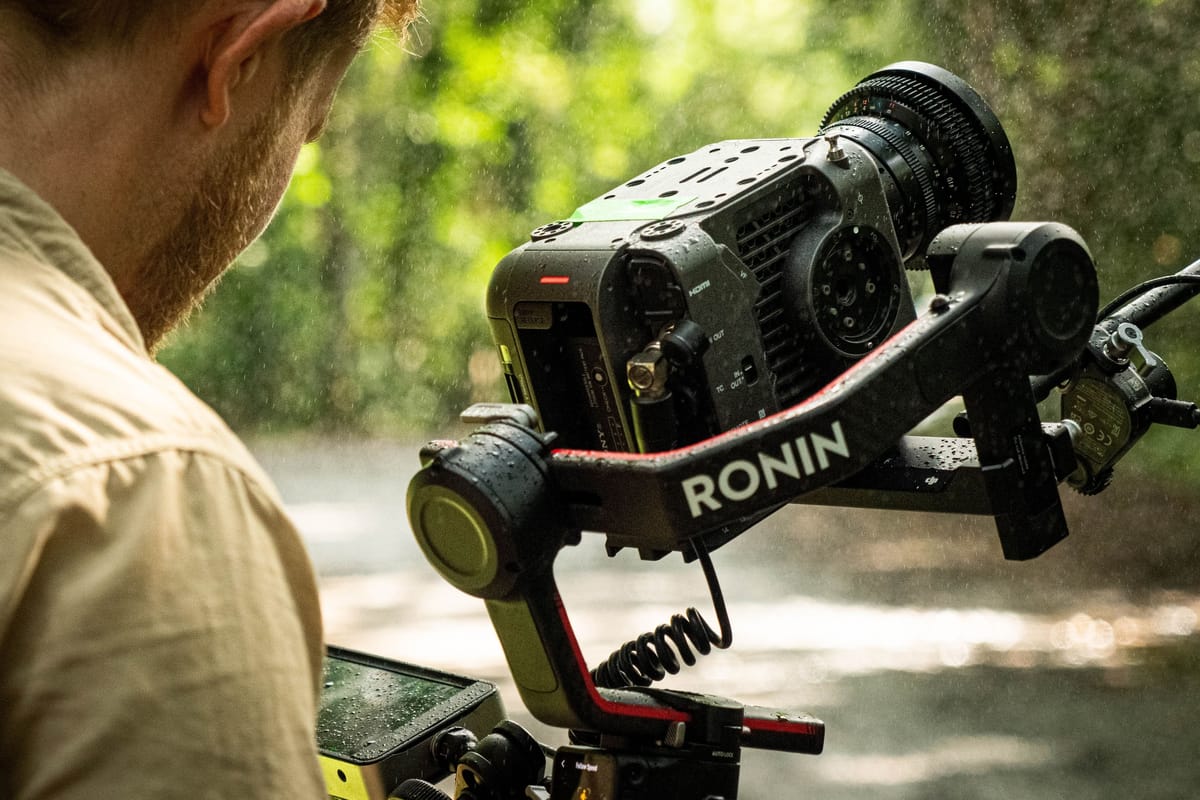
That's because most handheld gimbals, such as the DJI Ronin S or the Zhiyun Crane series, are 3-axis rather than 4-axis. The vertical axis isn't stabilised, so any up and down movement from walking comes through in the shot.
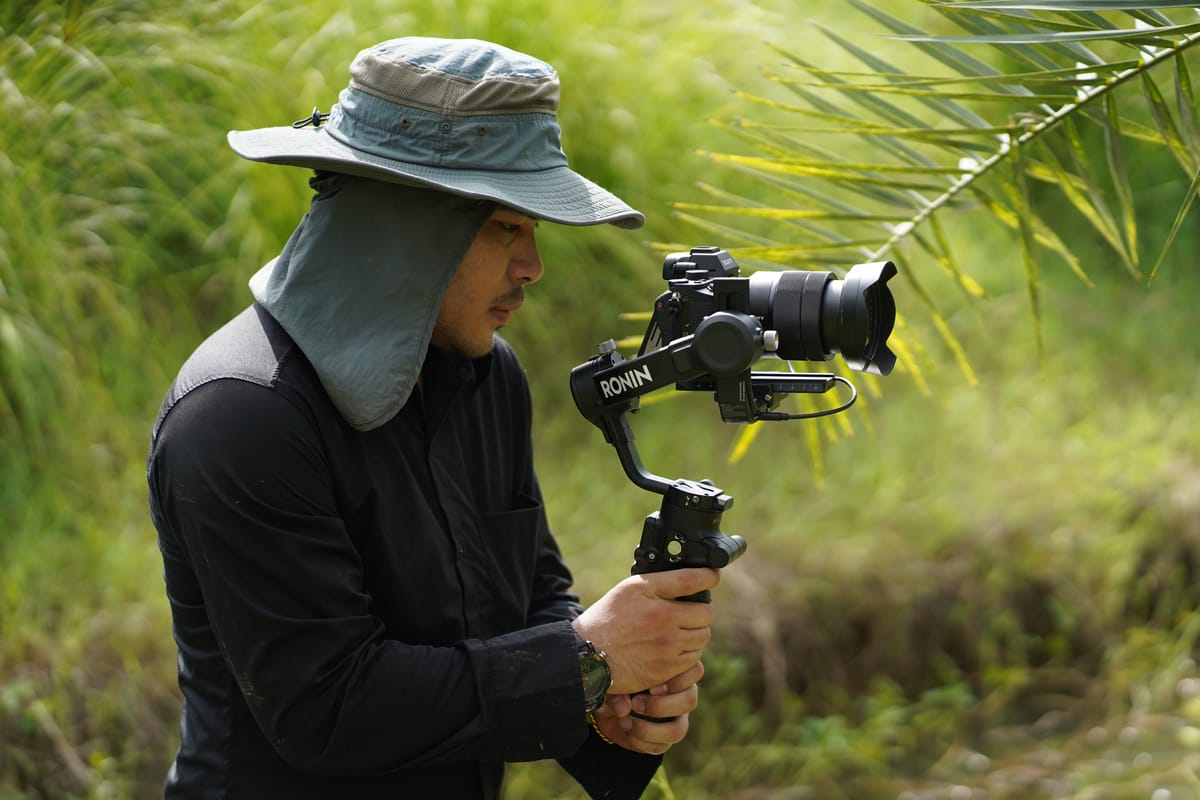
How to Keep Your Gimbal Shots Steady
These steps reduce the up and down movement:
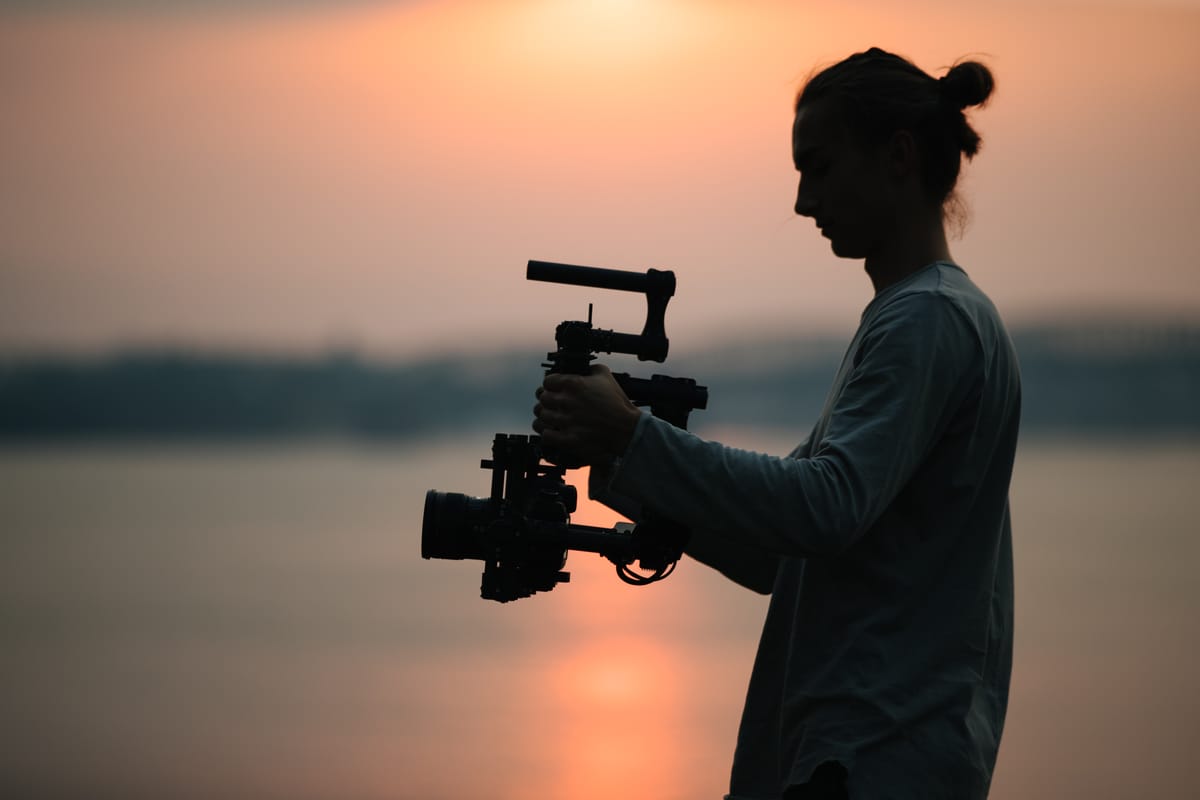
- Positioning the gimbal: hold it with both hands, your right hand below the joystick and your left hand beneath the right.
- Following the subject: as your subject walks forward, follow from behind at a consistent distance, matching their pace. Bend your knees as you move to soften any up and down jolts.
- Circling the subject: when your subject stops to take in a view, use it to change angle. Circle them clockwise: cross your right foot over your left, then step with the left to uncross. Repeat until you're in front of them, keeping your knees bent.
- Panning for position: as you circle, gently pan the gimbal head to the right with the joystick so your subject stays in frame and you catch their reaction to the scenery.
My guide to camera movement in documentaries covers the different types of movement and when to use each one.
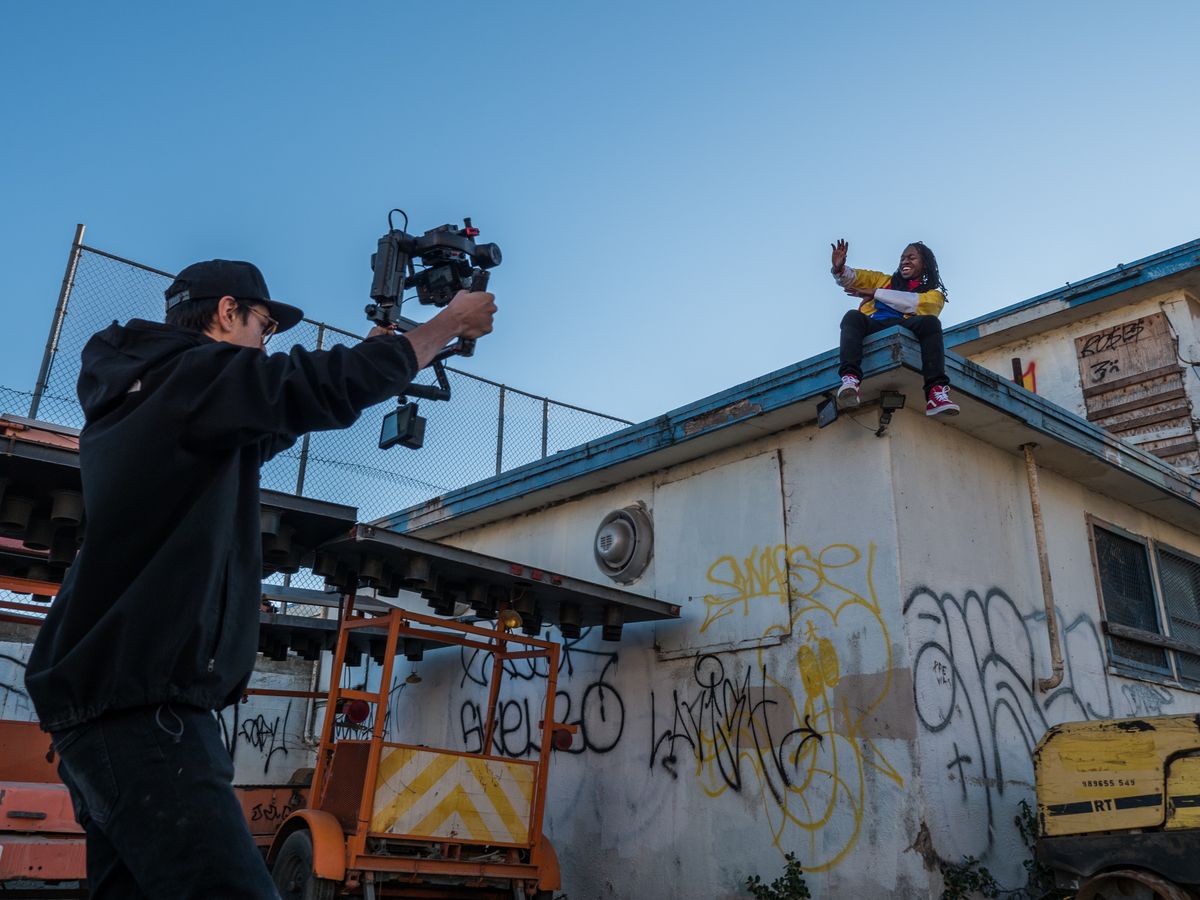
8 Essential Cinematic Gimbal Moves
These are the eight movements I like to use when filming with a gimbal.
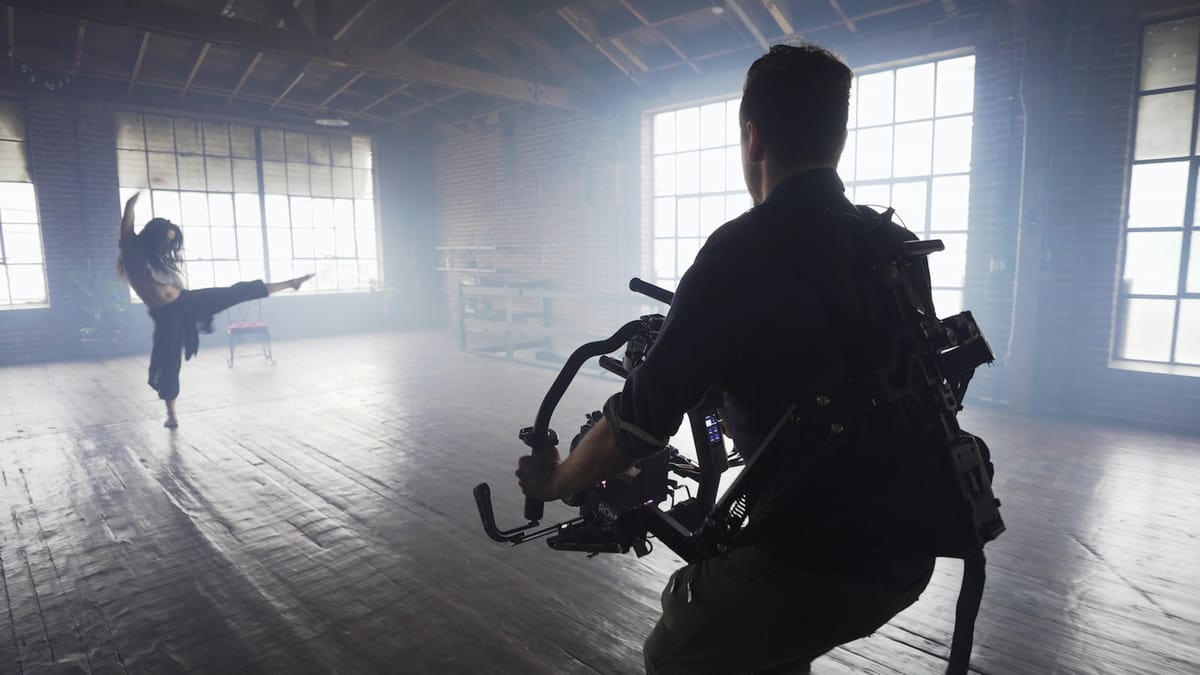
1. Push-in or Pull-out Shot
You move forwards or backwards in a straight line.
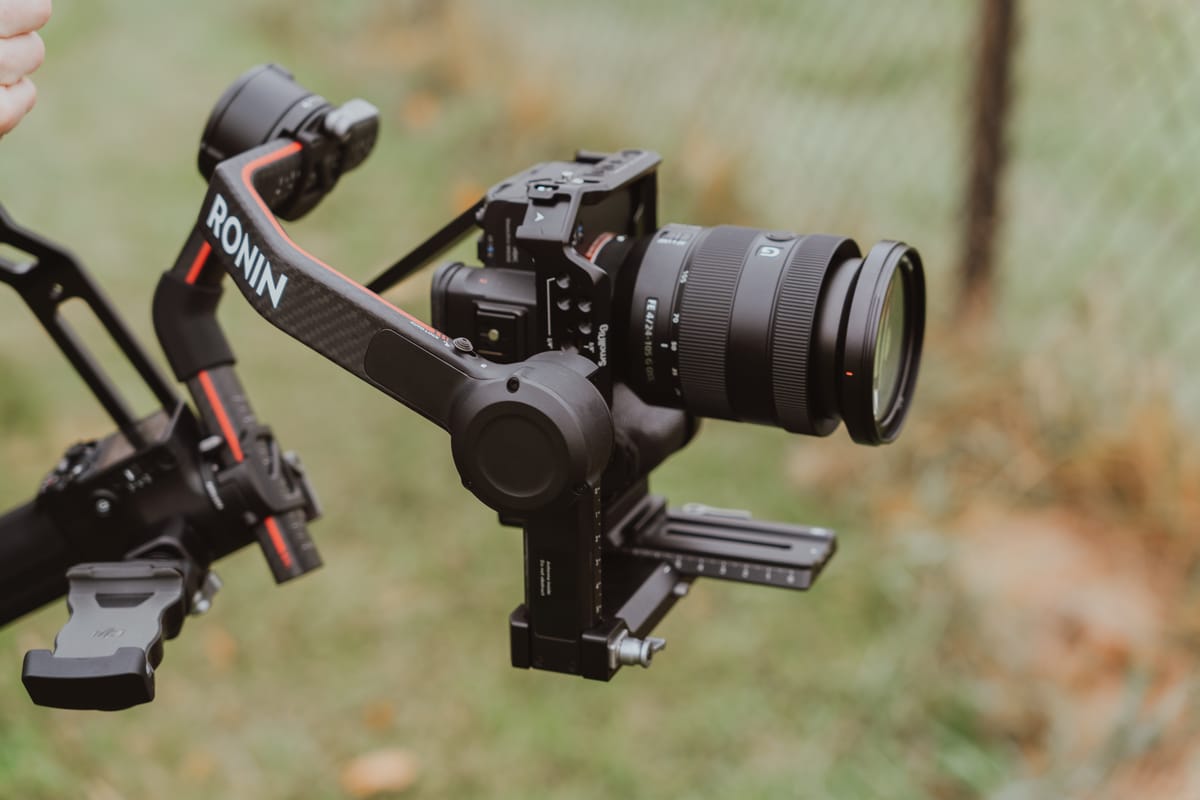
- Push-in: I like to use this to establish a scene or location, and it's most effective on a wide-angle lens. Decide what the central focus of the frame will be, whether that's a building, a mountain or a person, and where you want the shot to end. Then walk back from that point to find your starting point. The best start points are close to an object, so you can brush past it in the foreground as you push in. It accentuates the movement and makes it feel more dynamic.
- Pull-out: the push-in in reverse. I like to use it at the end of a film to help resolve the story and make the audience feel they're leaving the scene. I also use it to reveal a character.
2. Tracking Shot
One of the most popular gimbal shots. The camera follows the subject by moving forwards, backwards or alongside them. There are three types:
- Follow track: you film from behind your subject. I like to keep the same distance throughout the shot, as it gives more of a sense of being in the character's shoes.
- Lead track: you film from in front, showing the subject's face and emotional state. You'll often be walking backwards, so you'll need someone to guide you. For an action sequence, you can face forwards and hold the camera up and over your shoulder, pointing behind you, so you can run at full speed without tripping or running into someone.
- Side track: you film from the side, keeping your subject in the same position in the frame. Use the rule of thirds: put your subject on one of the vertical lines and leave plenty of lead room in front of them.
The most emotive tracking shots link the location to the character's emotional state. If my subject were close to getting through a difficult challenge, I'd look for a chance to film a follow track in a tunnel or hallway, with them walking towards the exit. The closed-in space reflects the struggle, and the light at the end or the doorway represents hope. The steady movement makes us feel we're going through it with them.
My post on the 5 rules of composition for filmmakers shows how framing strengthens these shots.
3. Parallax Shot
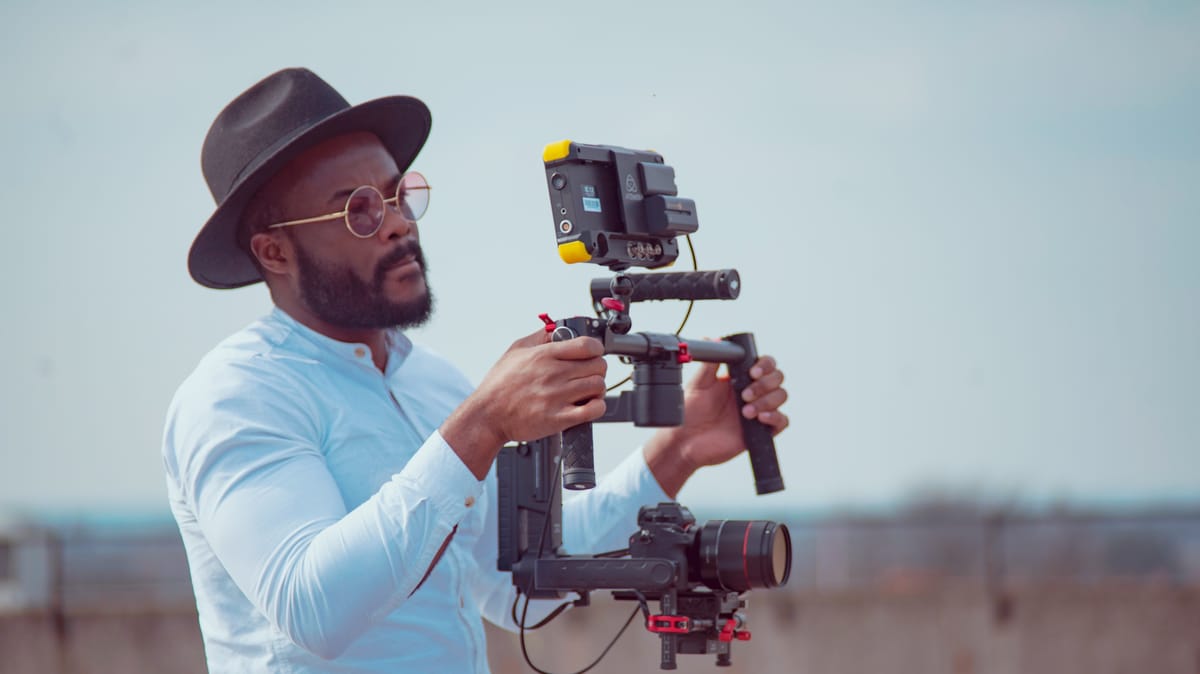
You orbit the character while keeping them in the same place in the frame, so they stay still and the background moves. This creates the parallax effect. You can film it wide or close up, but the tighter you are on the subject, the more dramatic the effect.
4. Low Angle Shot
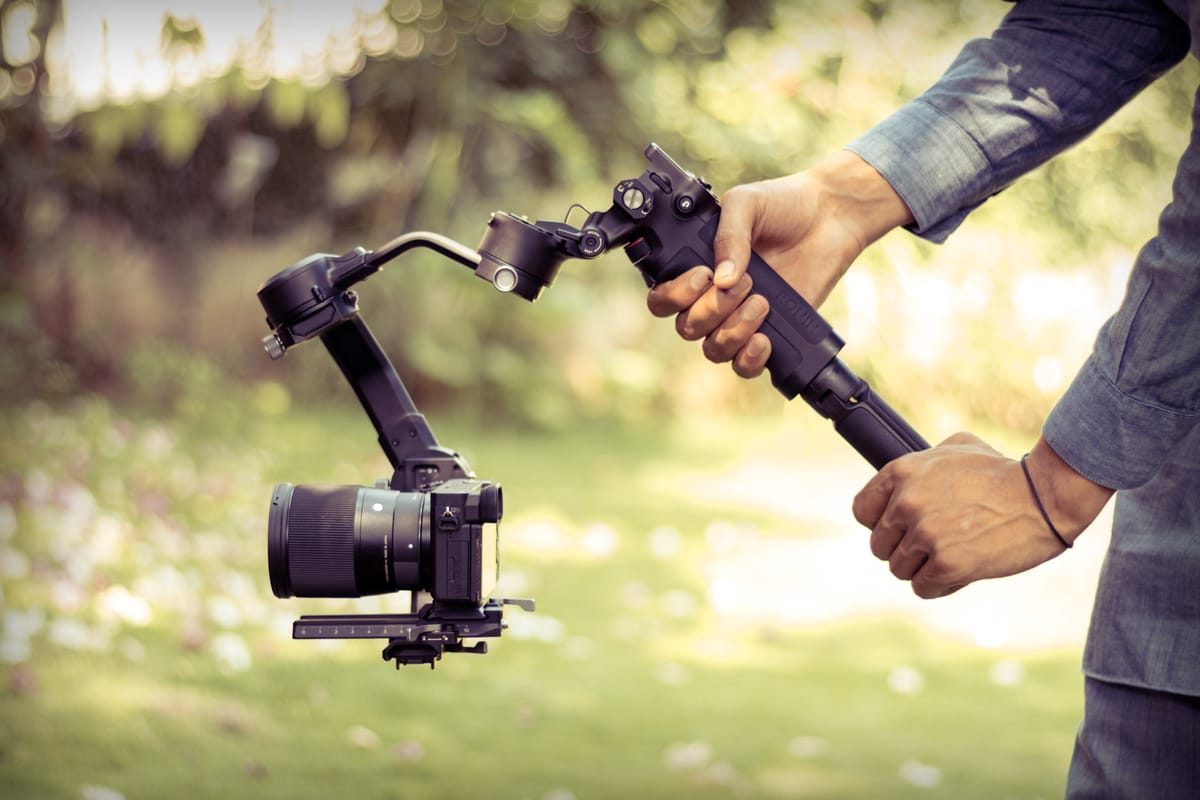
Flip the gimbal upside down into underslung mode (on the Ronin S, press and hold the front trigger) and tilt it down. This gives you a perspective from closer to the ground rather than eye level.
Being low lets you silhouette your subject against the sky instead of the ground, and makes them feel more powerful. I also like low mode for action sequences, as being close to the ground makes movement feel faster and more dramatic.
5. Crane Shot
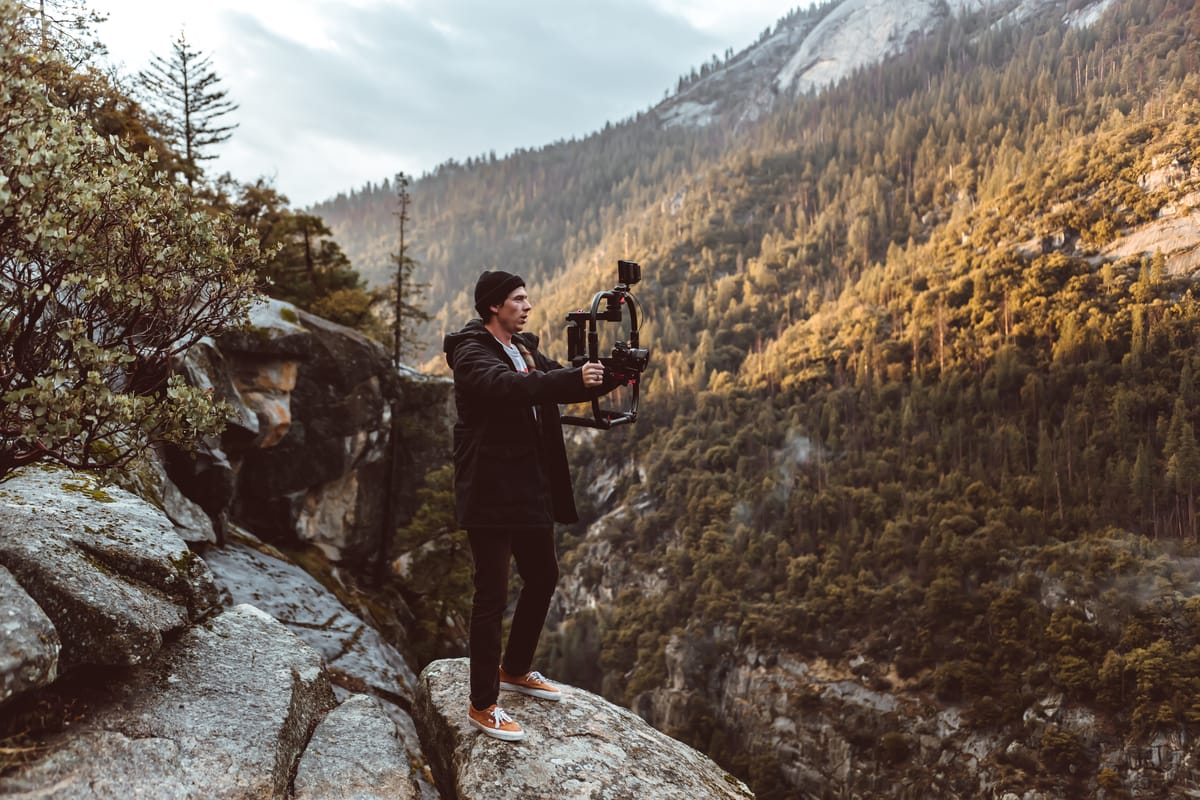
Bend your knees, start low and rise straight up as high as you can, mimicking a jib. A jib is a camera on a long boom arm that moves from the ground up into the air in one smooth movement. To make it more dynamic, tilt down while rising (or the reverse) for a parallax effect. A wide lens really enhances the movement.
6. Tilt Shot
There are two gimbal tilts, and I like to add a push-in or pull-out to both:
- Tilt up: start on the ground, then tilt up to reveal the subject or location.
- Tilt down: start on the sky or something above you, like trees or a building, then tilt down to reveal the subject or location.
7. Transition Shot
The two transitions I like to use with a gimbal are the whip pan and the reveal.
- Whip pan: film your scene as normal, and just as you finish, whip off to the left or right. At the start of the next shot, whip in the same direction, this time onto the subject rather than off it.
- Reveal: use an object, person or animal in the foreground to transition from one shot to the next.
8. Toe to Head Shot
Film from your subject's toes up to their head. It's a great way to create a feeling of intimacy with your character.
If you also shoot aerials, my guide to cinematic drone movements pairs well with these gimbal moves.
Using Gimbal Movements for Storytelling Impact
Knowing the moves is only half the job. Filmmaking is about conveying emotion and moving the story forward. Without a purpose rooted in the story, dynamic camera moves become gimmicks.
Put story before novelty. Overdone or misplaced movement pulls attention away from the characters and weakens the film. Choose moves that feel natural and unobtrusive, so the emotion and story stay the stars of the scene.
To see how these techniques fit into the bigger picture, my step-by-step guide to making a documentary covers the full process from idea to finished film. Before you shoot, run through my cinematic camera settings checklist.
Get your walk right first, then pick the move that serves the moment, and your gimbal footage will start to feel like cinema.
Frequently Asked Questions
Do professional filmmakers use gimbals?
Yes. Professionals regularly use gimbals on commercials, documentaries and narrative films. Gimbals like the DJI Ronin series and the Zhiyun Crane are standard tools on professional sets because they give smooth, stabilised footage without the cost or setup time of a full Steadicam rig.
How do you get smooth shots with a gimbal?
Bend your knees, walk heel-to-toe (sometimes called the "ninja walk") and hold the gimbal with both hands. Keep your arms close to your body and move slowly. Most shaky gimbal footage comes from walking normally, which creates a bobbing motion that 3-axis stabilisation can't correct.
How do you use a gimbal like a pro?
Balance your gimbal properly before every shoot and learn its modes (Pan-Follow, Lock, FPV/3D Roll). Plan each shot with a specific movement in mind rather than freestyling. Practise the eight moves in this post, and always match your camera movement to the emotion of the scene.
What are the basic camera movements for gimbals?
The eight essential gimbal moves are the push-in/pull-out, tracking shot (follow, lead and side), parallax shot, low angle shot, crane shot, tilt shot, transition shot (whip pan and reveal) and toe-to-head shot. Each serves a different storytelling purpose, from establishing a location to building intimacy with a character.